Installing Windows Server 2019: A Step-by-Step Guide
Begin by preparing a USB drive for booting, then proceed with these installation steps:
- Power up your server to allow Windows to load normally; plug in the Windows Server USB, and then reboot your server.
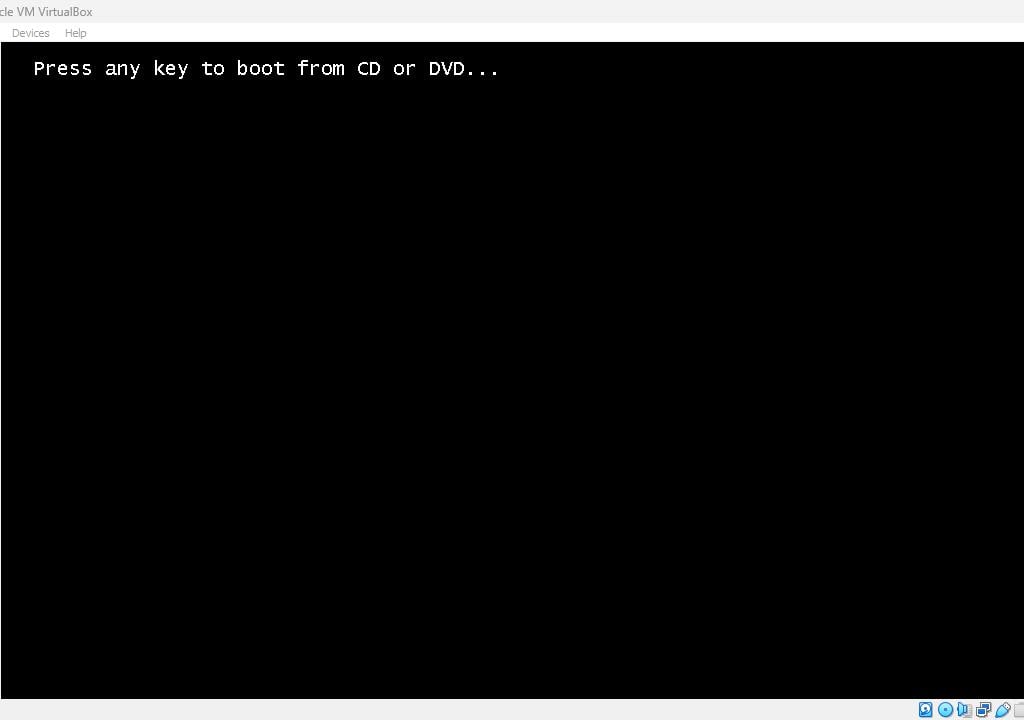
- The device will initiate from the Windows Server USB. Hit any key when you see the prompt Press any key to boot from CD or DVD.
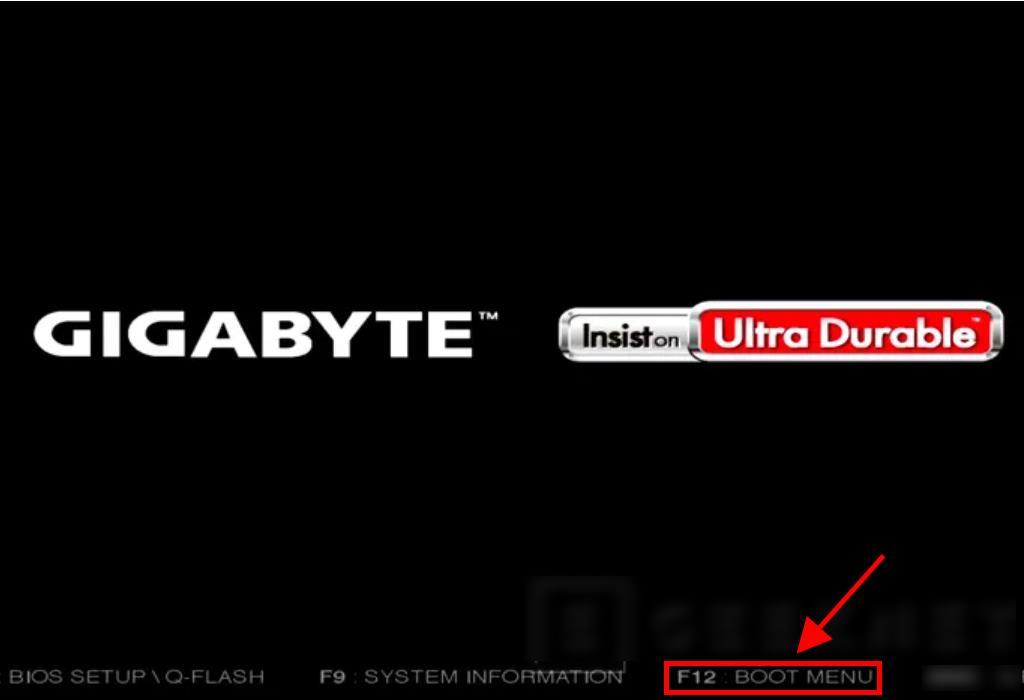
- Reboot your PC and, upon seeing the manufacturer's logo, locate the BOOT menu key, commonly F2, F10, F11, F12, or Del, and access the menu.
- Adjust the boot priority to USB.
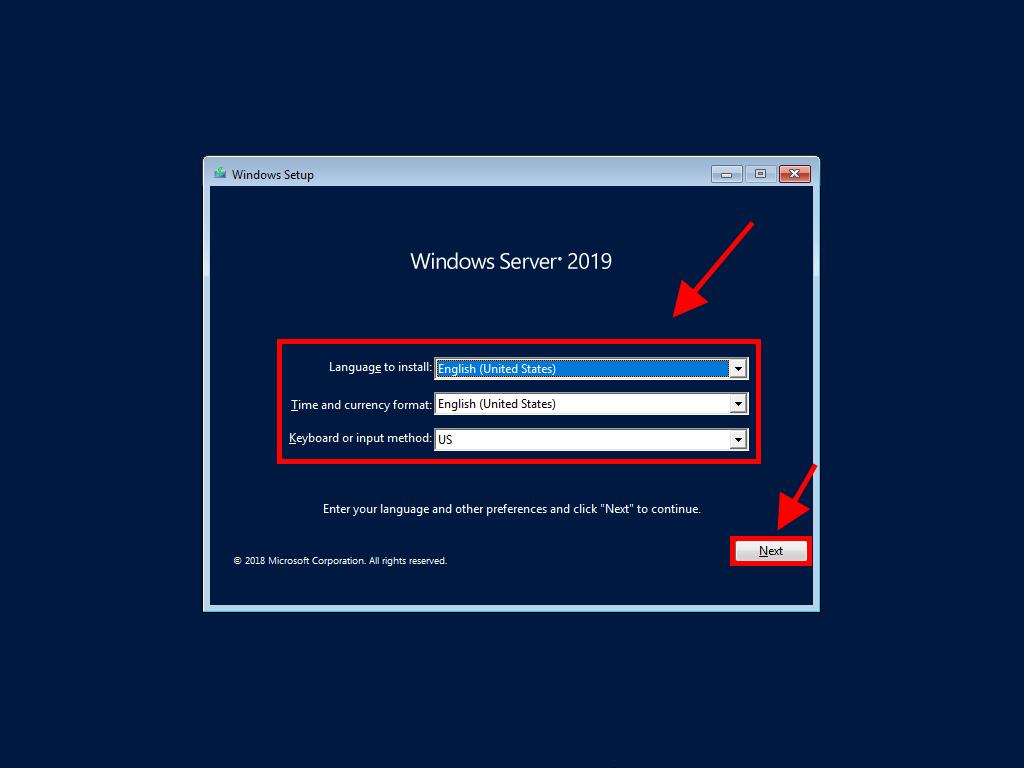
- At the setup screen, select your preferred language, time and currency format, and keyboard or input method, then click Next.
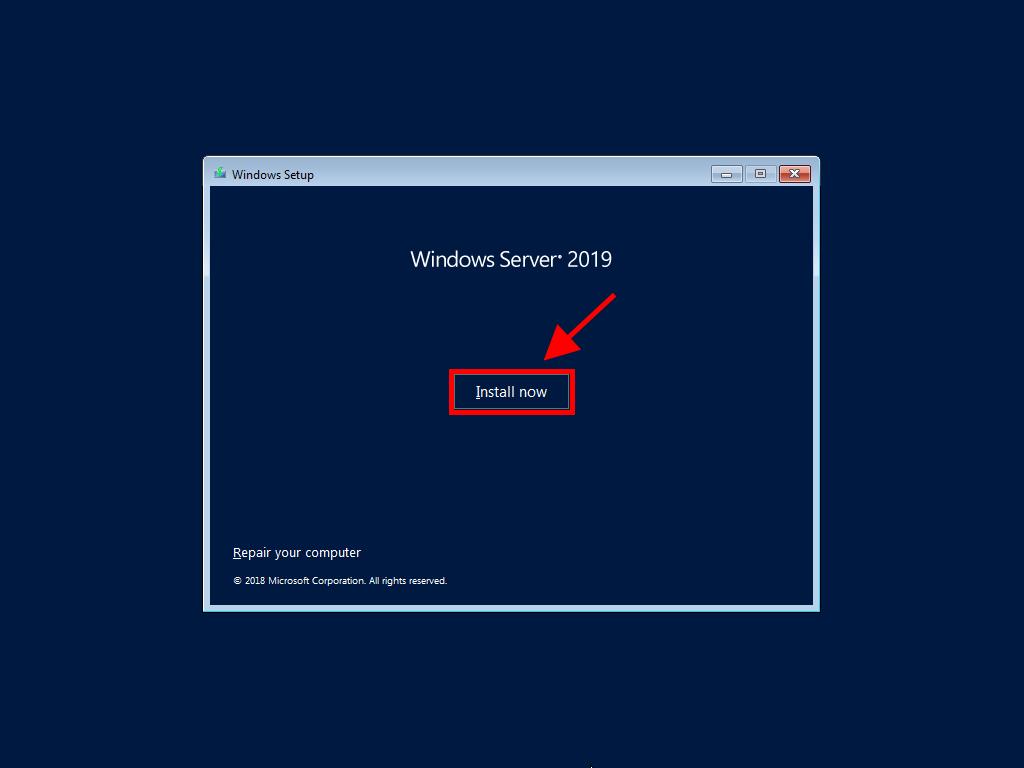
- Click Install now to commence installation.
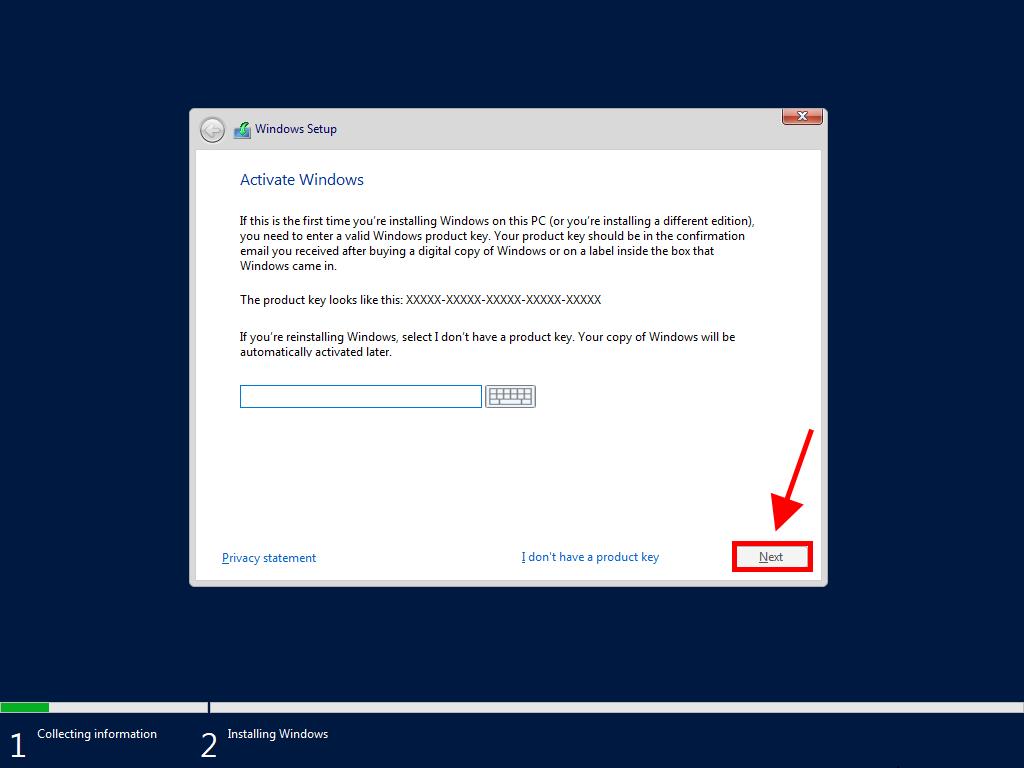
- Enter your product key and proceed by clicking Next.
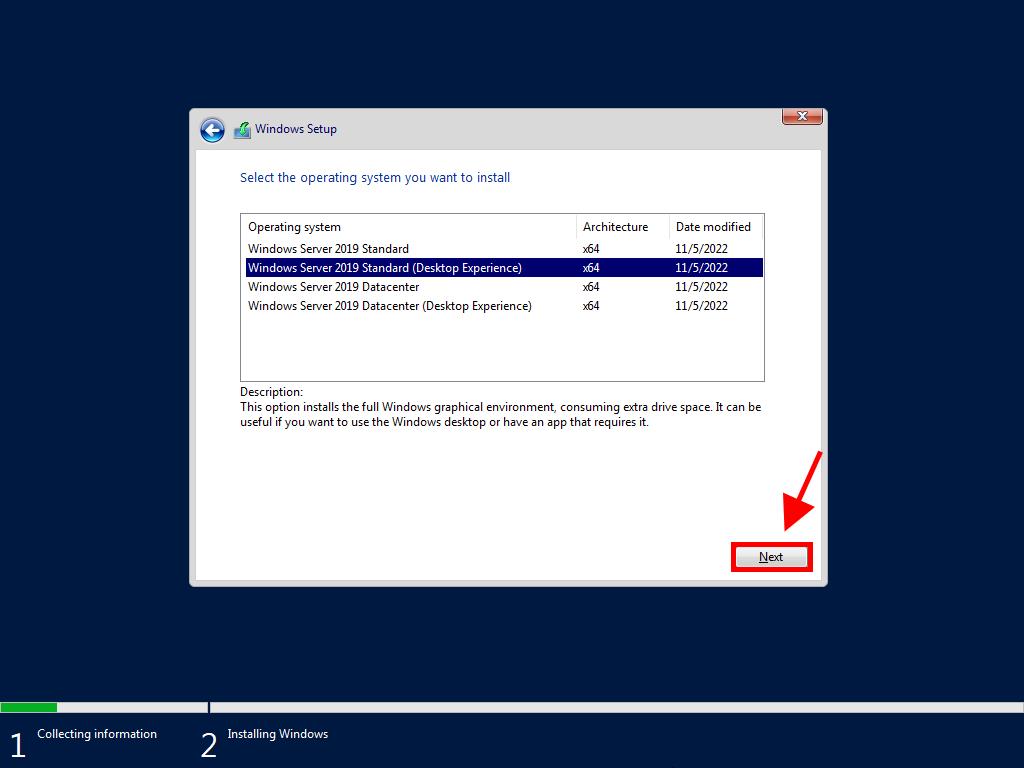
- Choose the edition (Desktop Experience) and proceed by clicking Next.
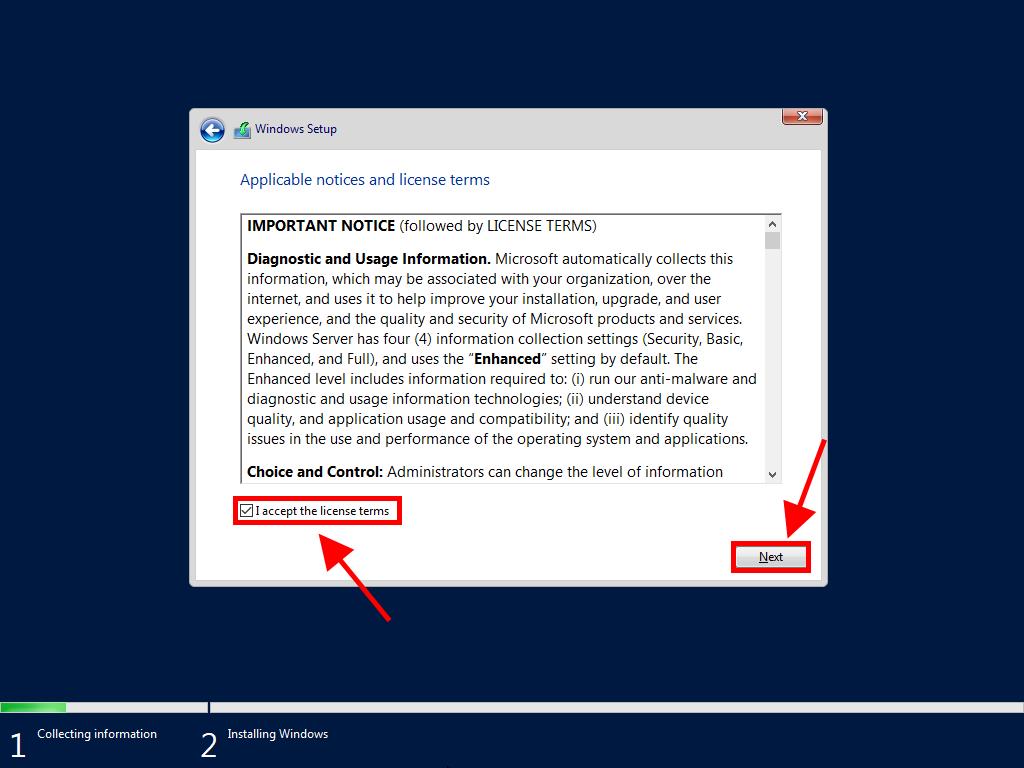
- Agree to the terms and conditions and click Next.
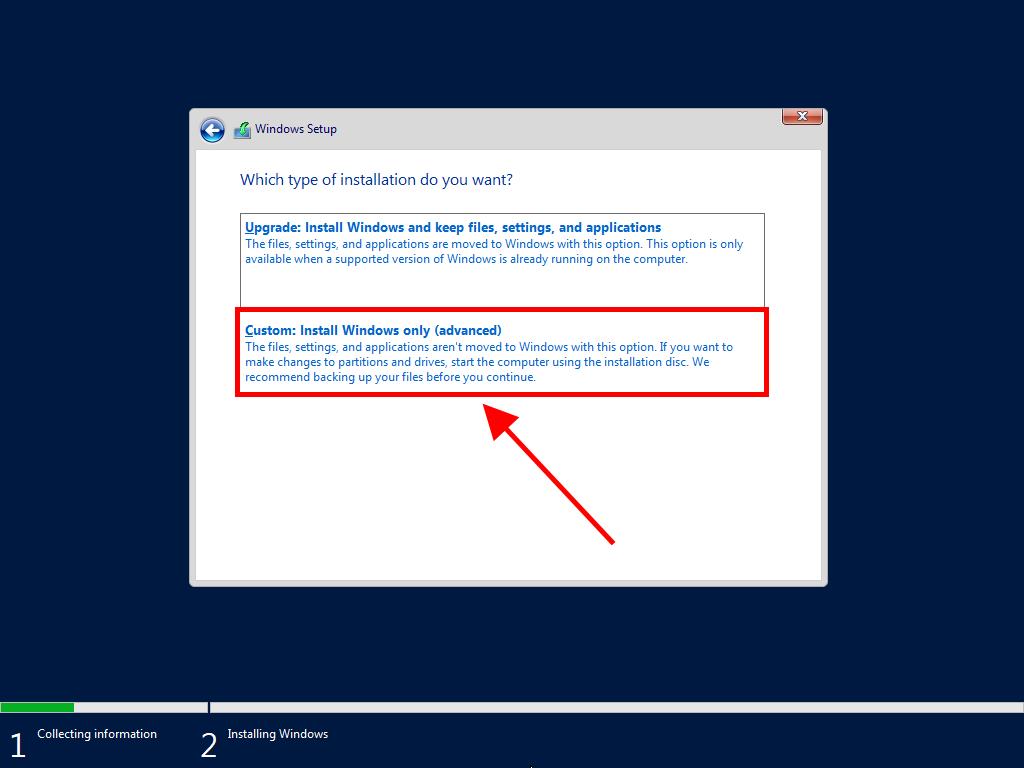
- Select Custom: Install Windows only (advanced).
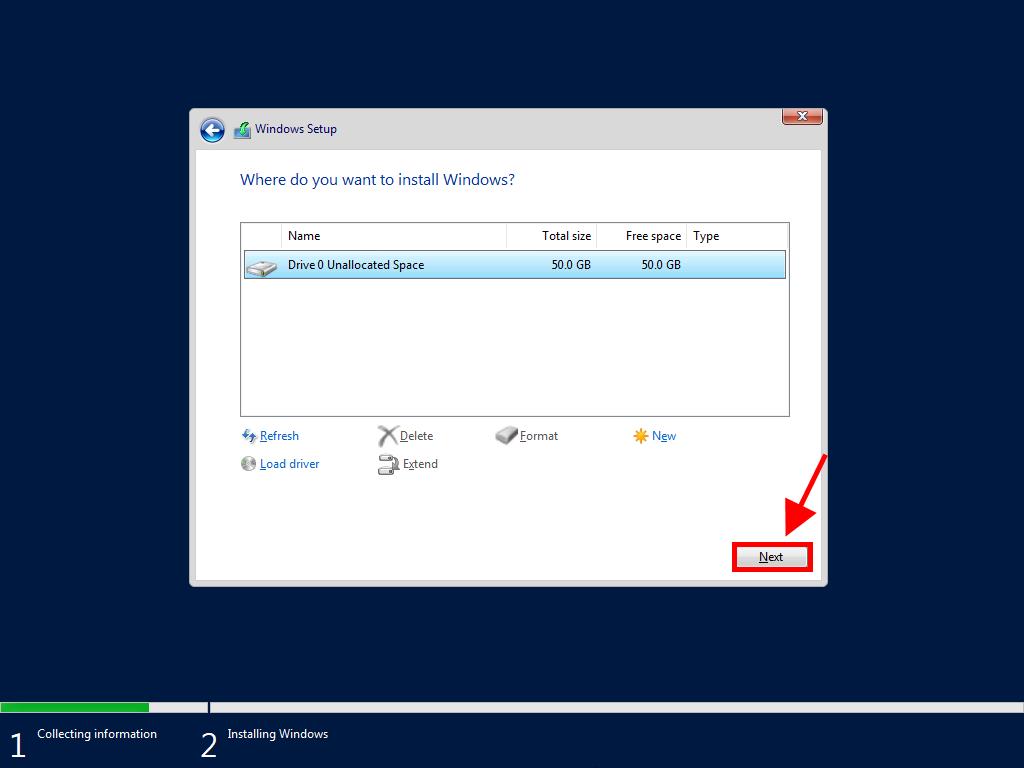
- Choose the disk for Windows Server installation and click Next.
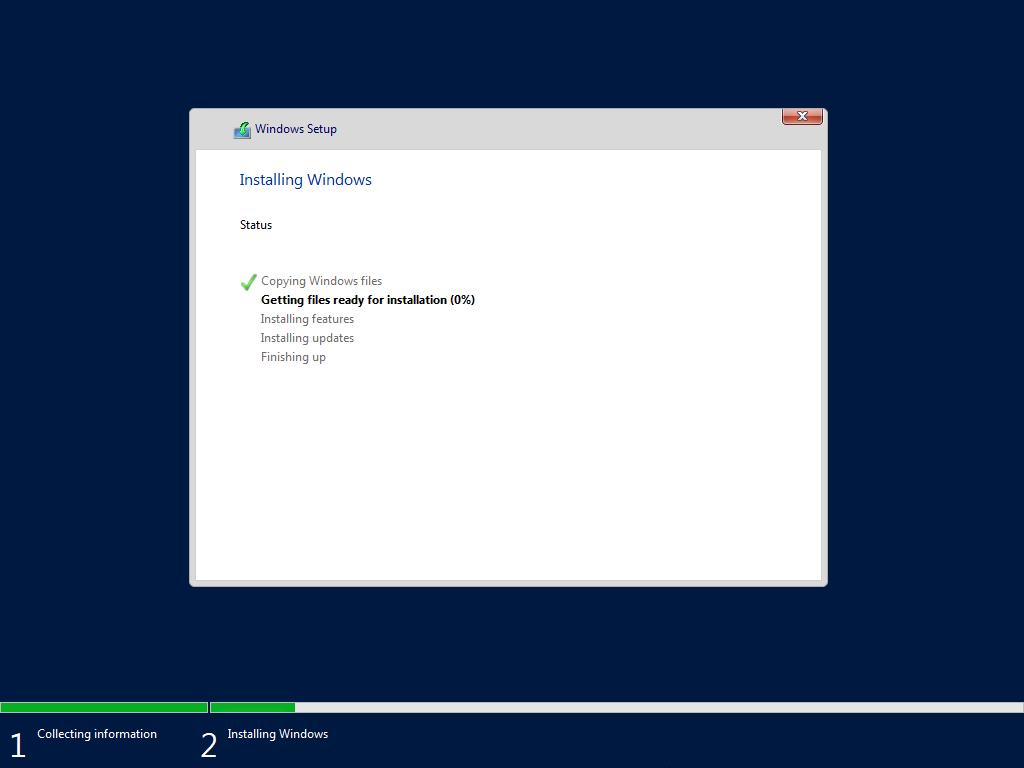
- The installation of Windows Server will commence and last a few minutes.
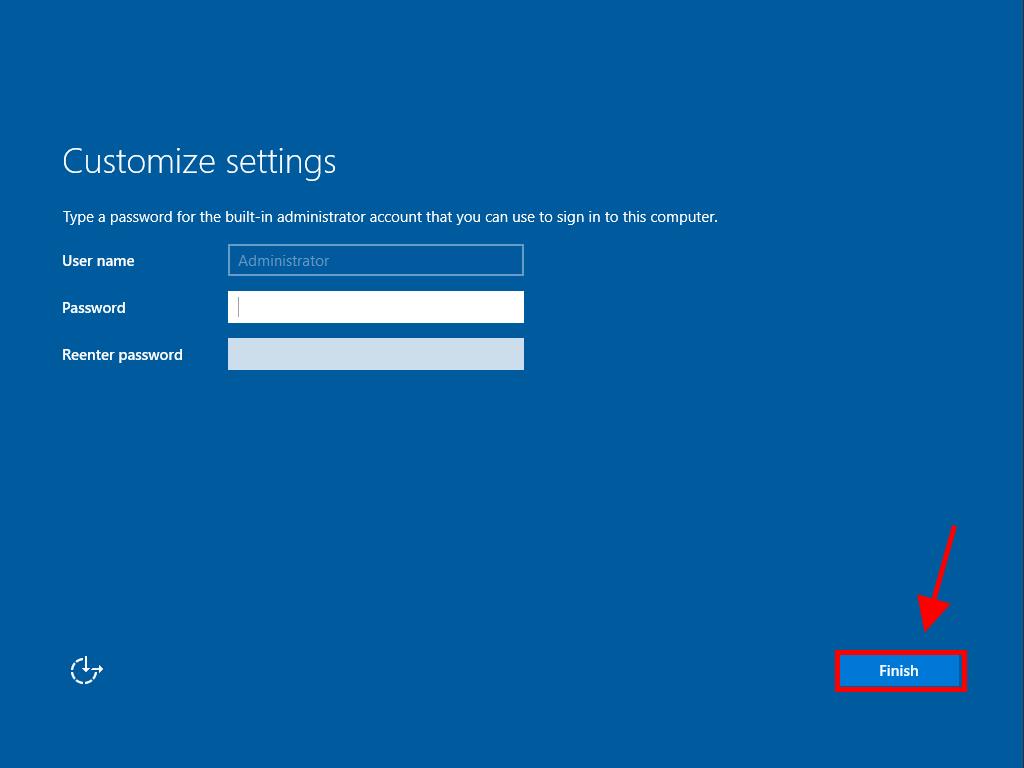
- Finally, set a memorable password and click Finish.
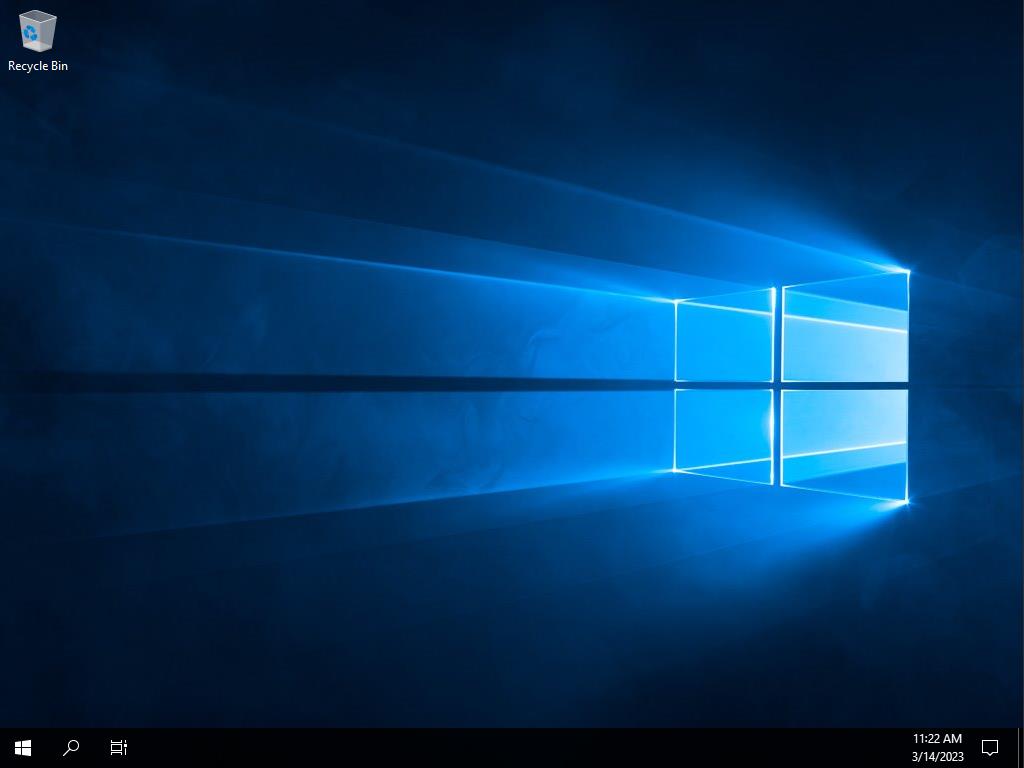
- Press Ctrl+Alt+Del, input your password, and access your Windows Server desktop.
Remember: If your PC restarts and fails to commence the Windows Server setup, you must modify the boot sequence in your PC's BIOS to prioritize the USB.
Advice: We suggest erasing all partitions on the disk for optimal Windows Server functionality. If your disk is new, simply click next.
 Sign In / Sign Up
 Orders
 Product Keys
 Downloads

 Go to United States of America - English (USD)