Crafting a Bootable USB for Windows Server 2019 Installation
To initiate the Windows Server 2019 installation, first download the .iso file and then prepare a USB bootable drive.
Note: A USB drive with at least 16 GB of memory is required.
For this process, use the following application:
Rufus
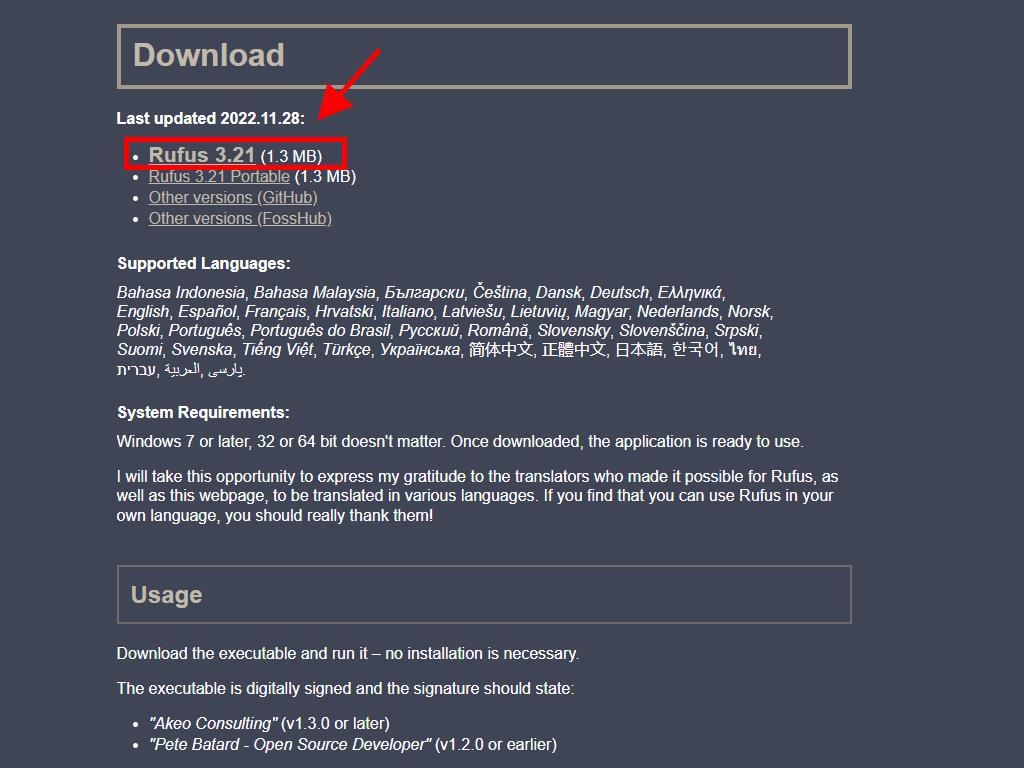
- Click here to download Rufus for free.
- Proceed to the Download section and obtain the latest version of Rufus.
- Insert the USB drive and launch the Rufus application.
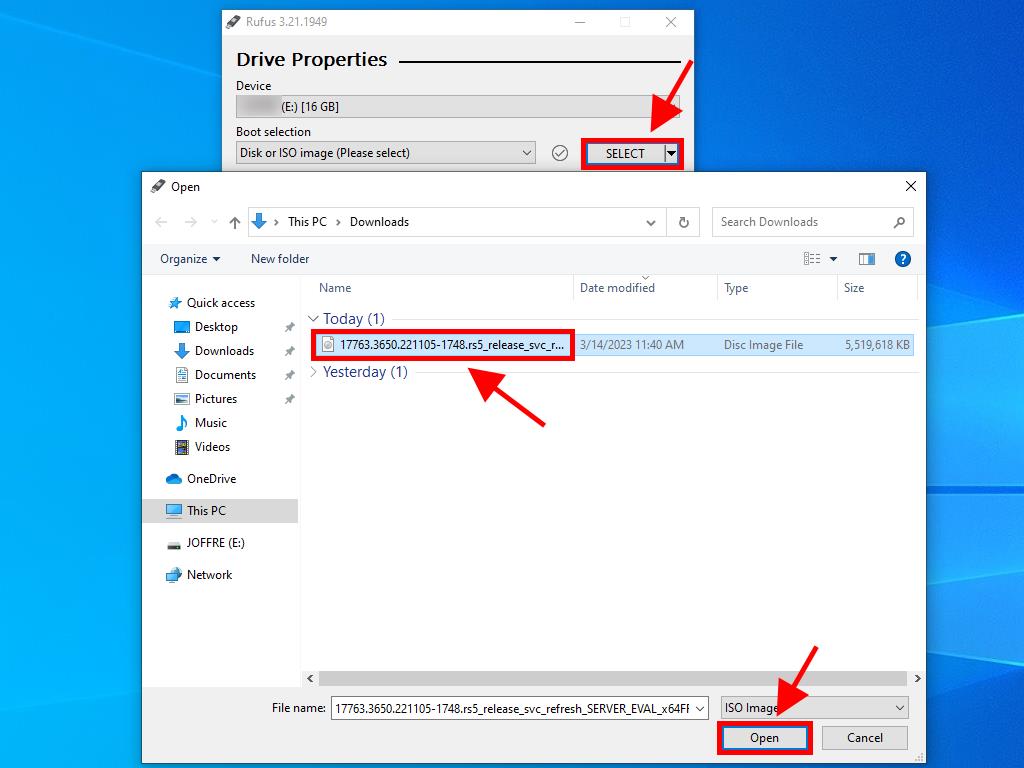
- Press Select to locate and choose the Windows Server 2019 .iso file.
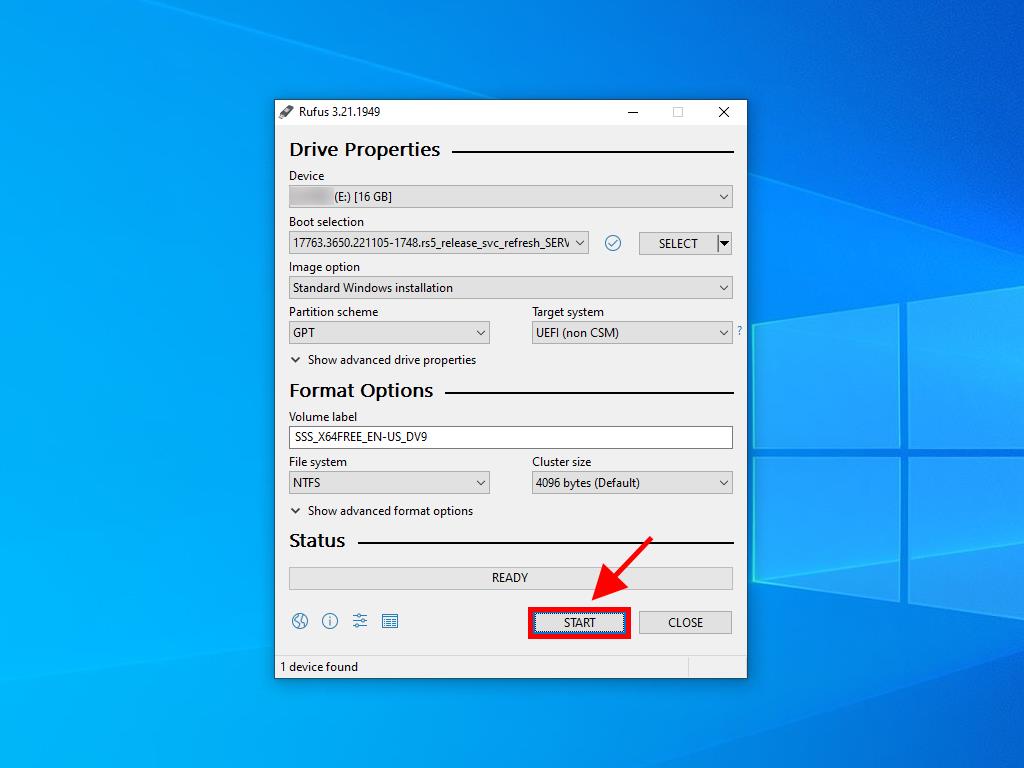
- Click Start to begin creating the bootable USB drive.
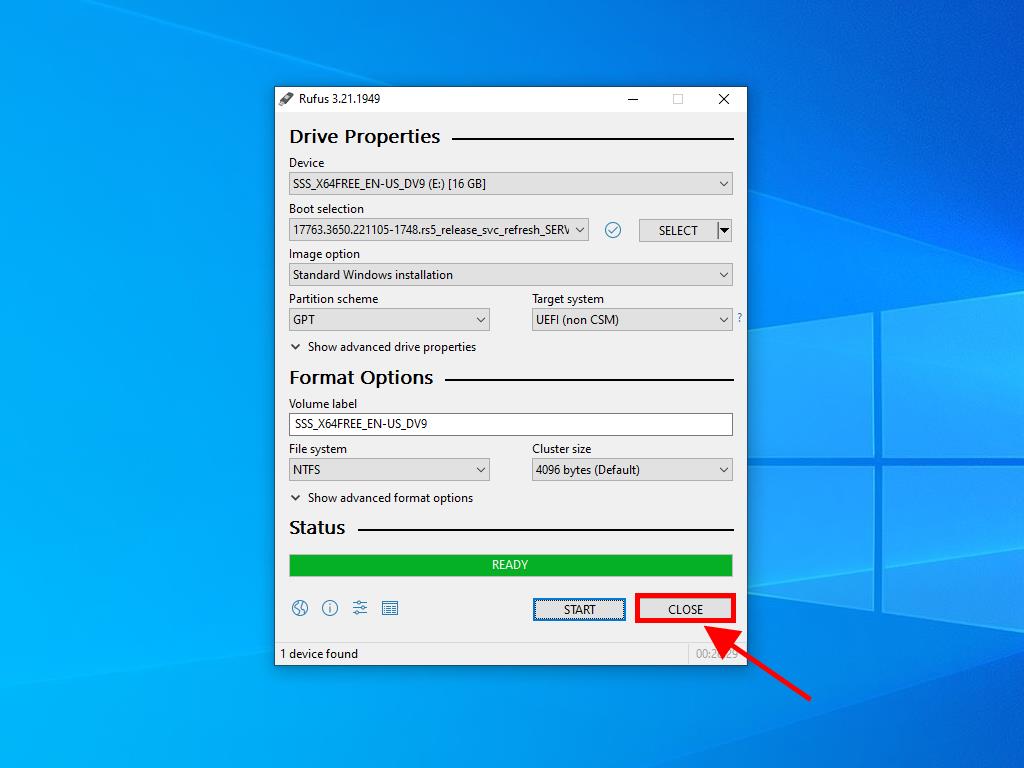
- After the setup completes and the progress bar indicates 'Ready', press Close. Your USB drive is now ready for installing Windows Server 2019.


Note: When the Customize Windows Installation pop-up appears, choose the Disable Data Collection option.


 Sign In / Sign Up
 Orders
 Product Keys
 Downloads

 Go to United States of America - English (USD)