Sign In / Sign Up
 Orders
 Product Keys
 Downloads

 Go to United States of America - English (USD)
Setting Up RDS CALs on Windows Server 2012 R2
Follow these steps to install the Remote Desktop Licensing role service and Remote Desktop Session Host:
Installing the Remote Desktop Licensing Role
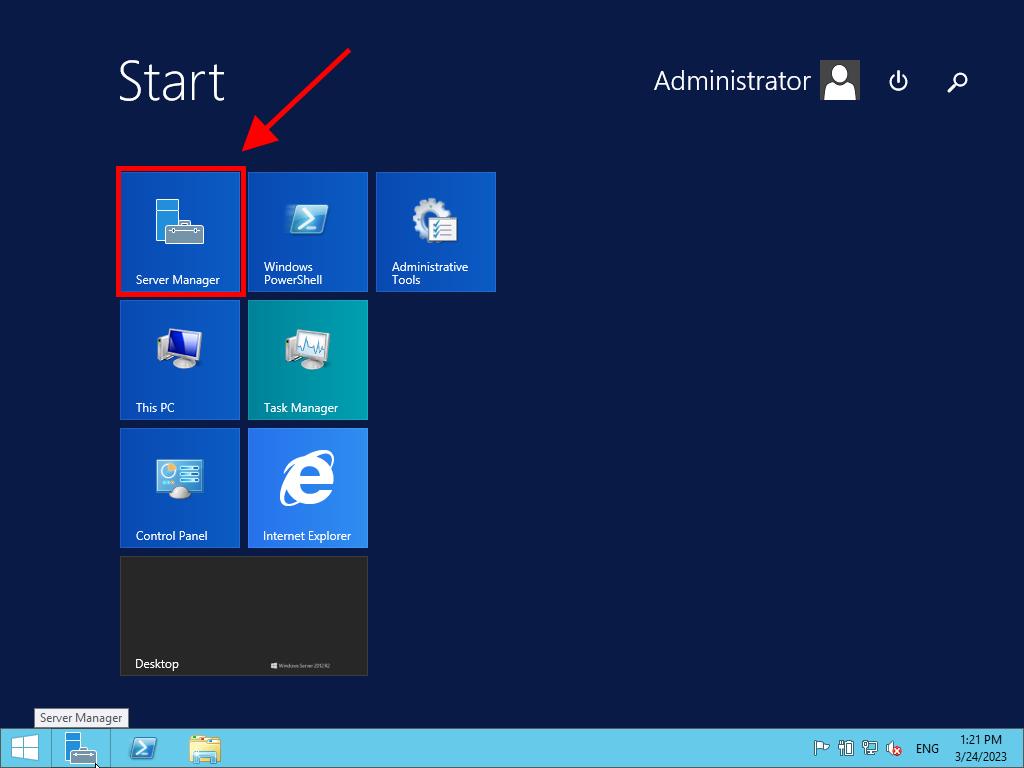
- Open Server Manager by clicking on the Windows icon and selecting Server Manager.
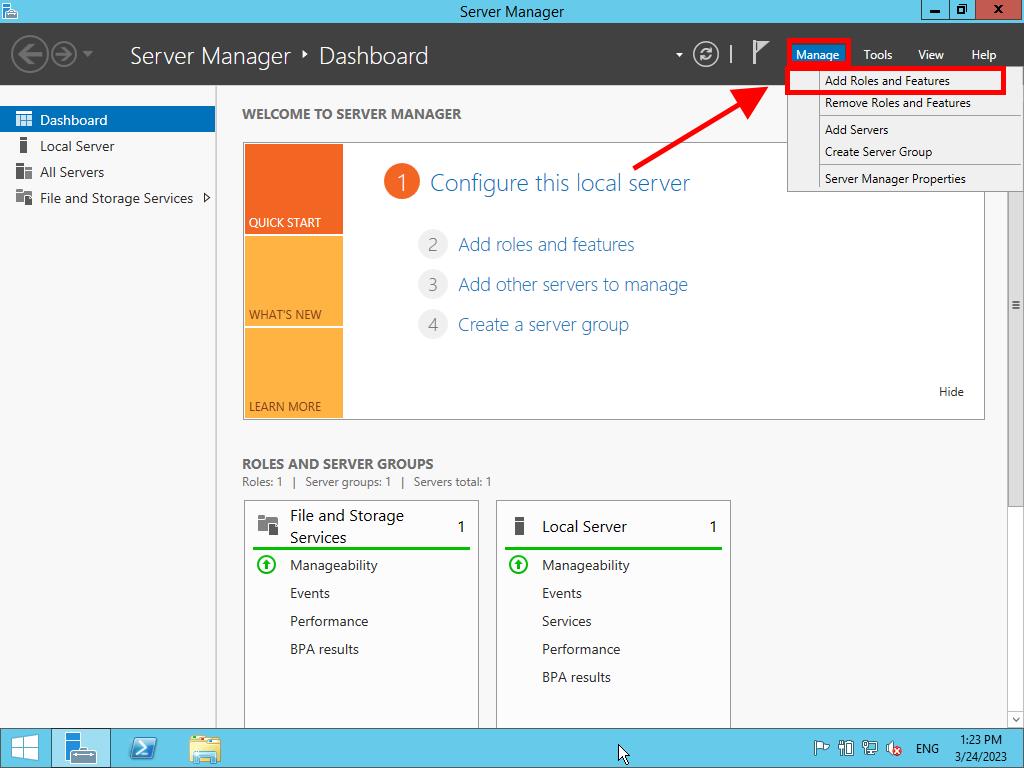
- Select Manage, then click Add Roles and Features.
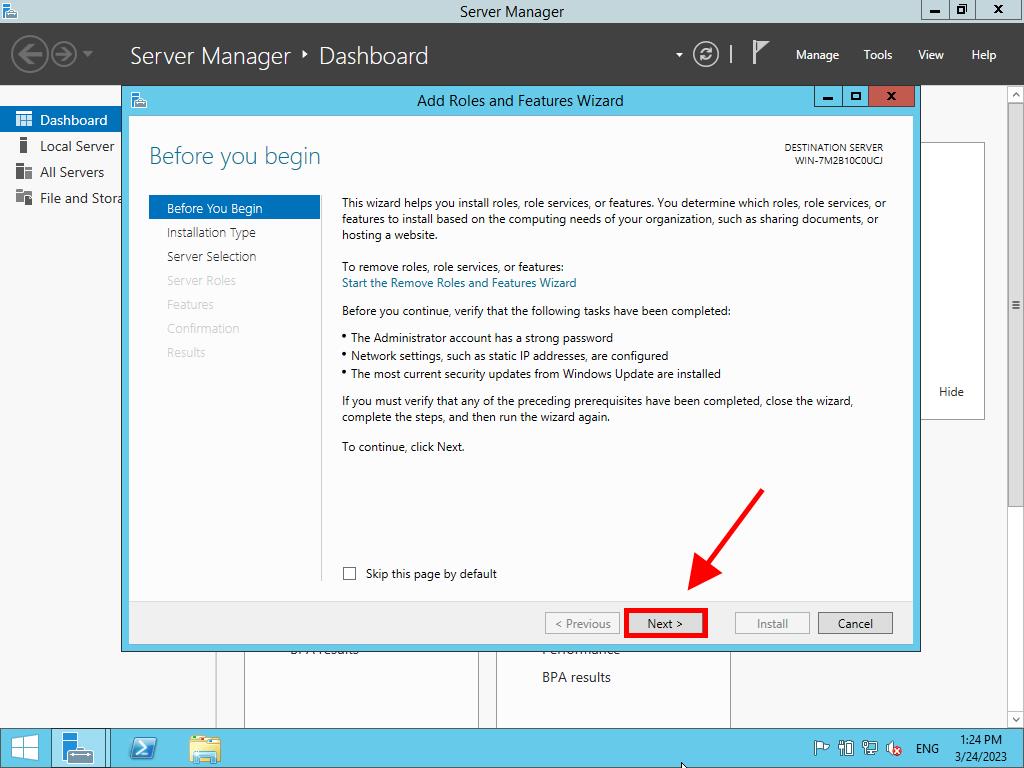
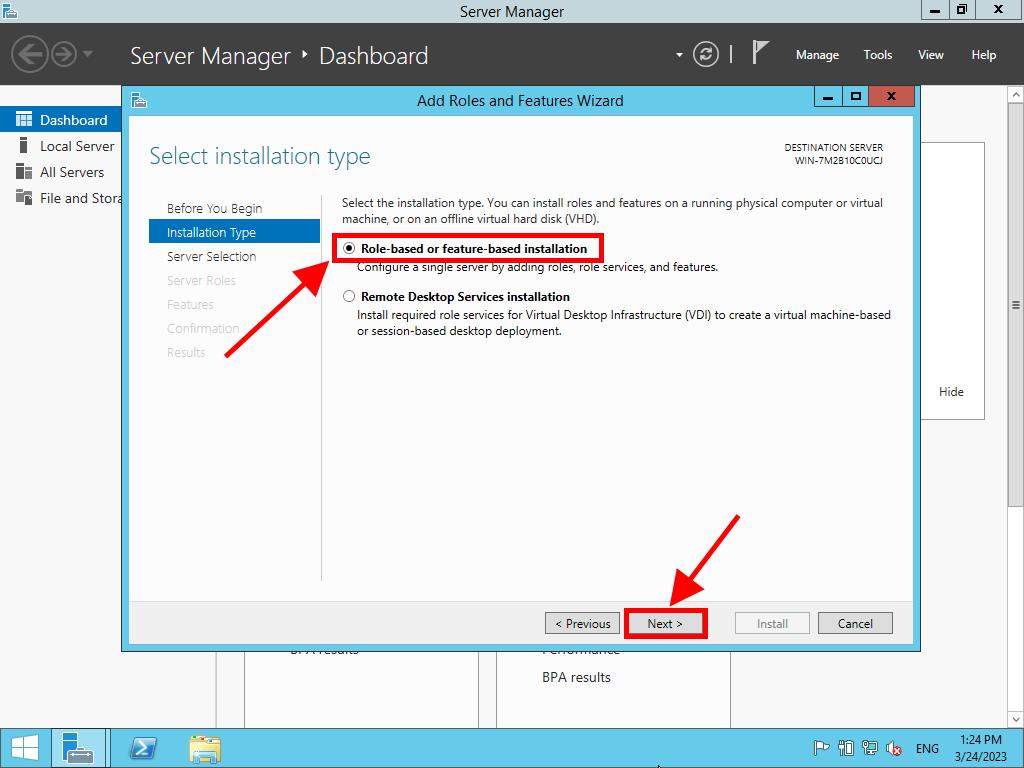
- In the Add Roles and Features Wizard, click Next.
- Choose Role-based or feature-based installation and click Next.
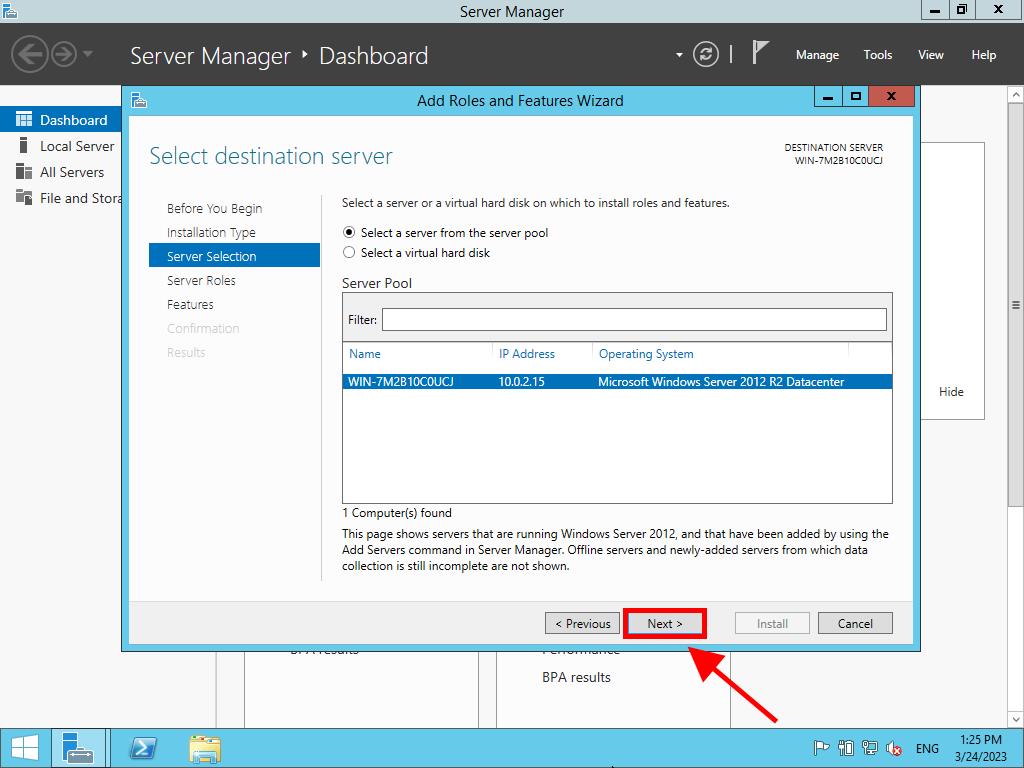
- Select the server for the roles and click Next.
- On the Select server roles page, check the Remote Desktop Services box and click Next.
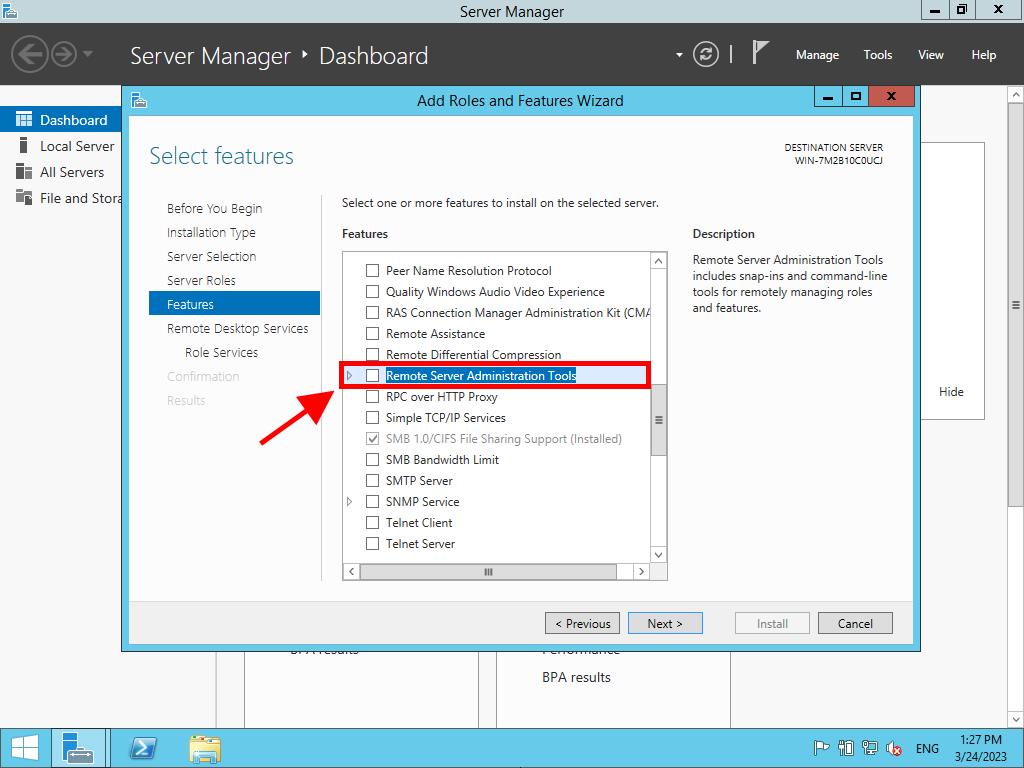
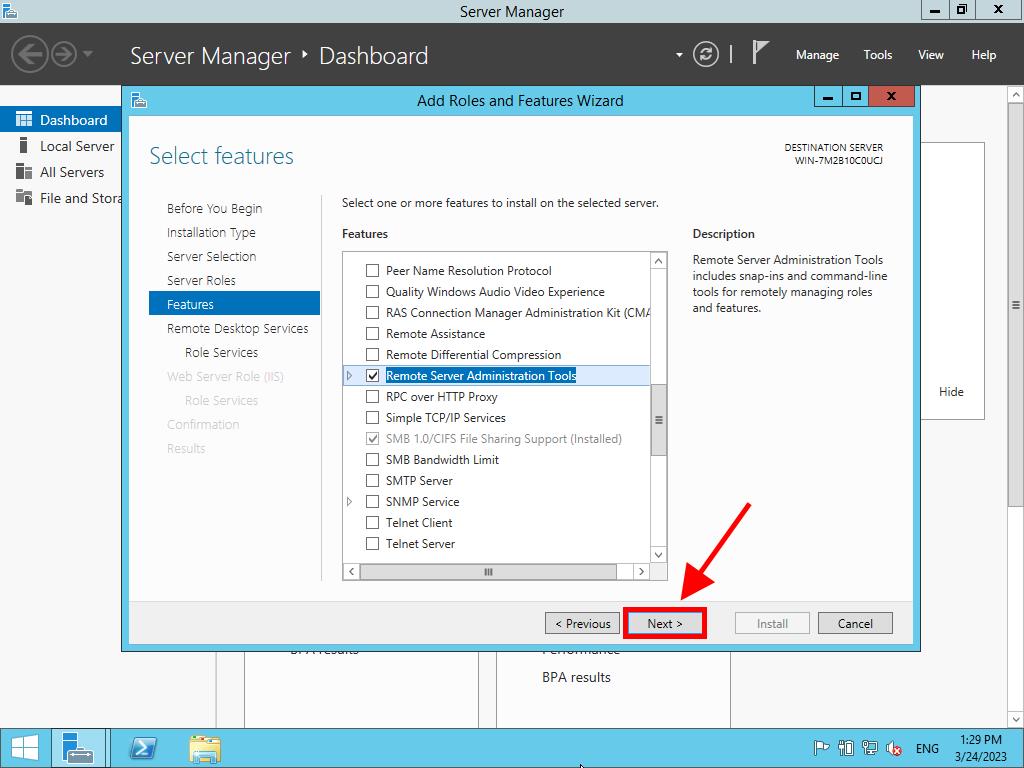
- On the Select Features page, check the Remote Server Administration Tools box.
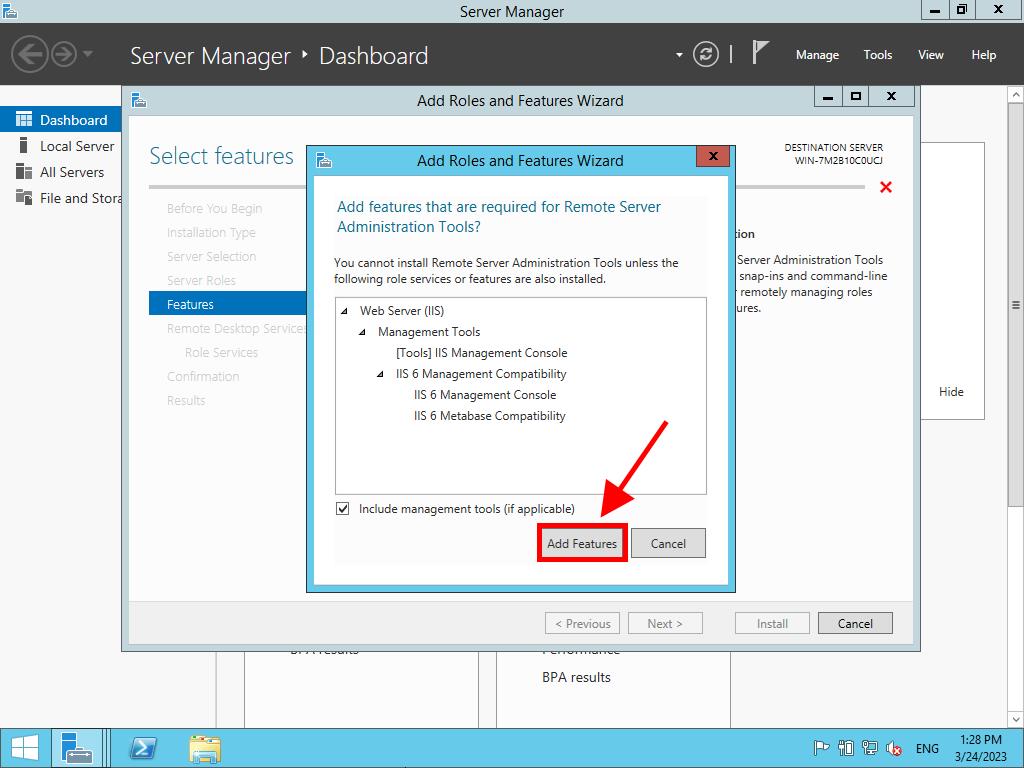
- Click Add Features after checking the box.
- Click Next.
- Click Next again.
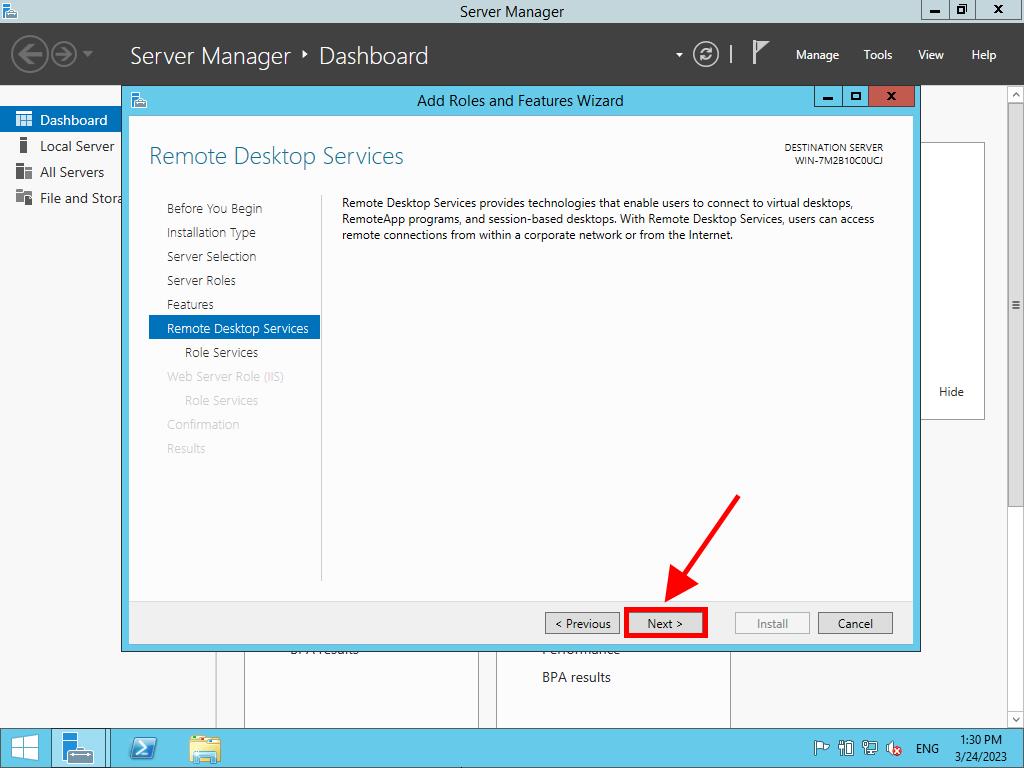
- On the next page, check the boxes for Remote Desktop Licensing and Remote Desktop Session Host, then click Next.
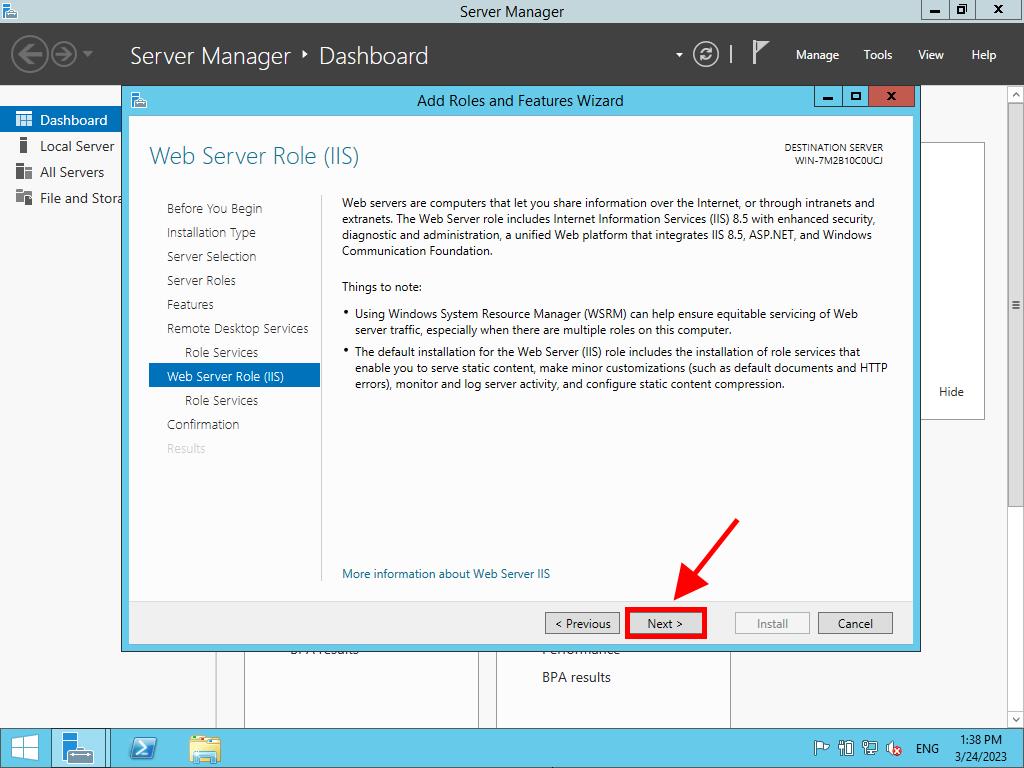
- For the web server role, click Next.
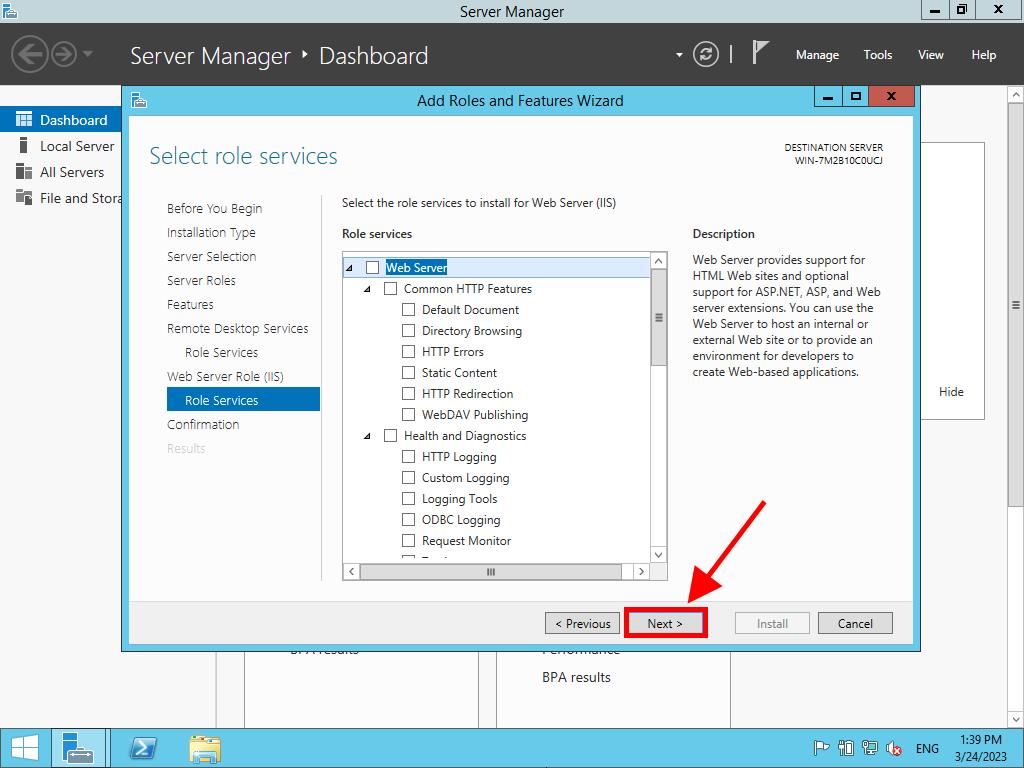
- In the Select role services option, click Next.
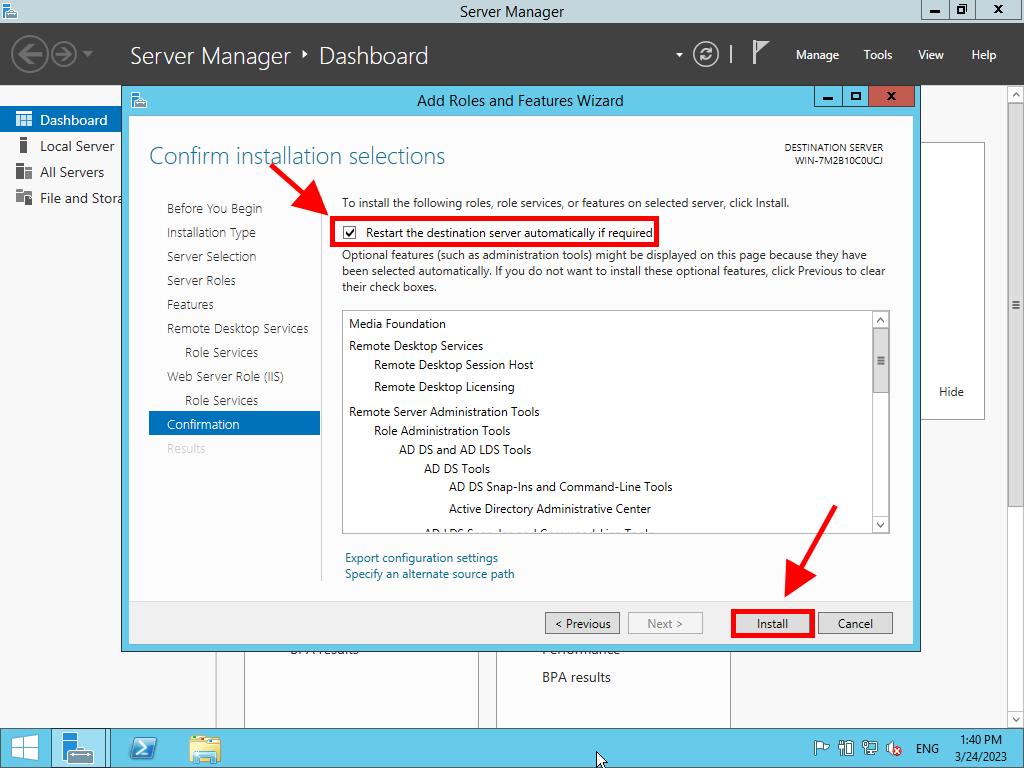
- Check the box for Automatically restart and click Install. Wait for the roles to be installed.
- After the roles are installed, proceed to use your remote desktop service.


Activating the Licensing Server
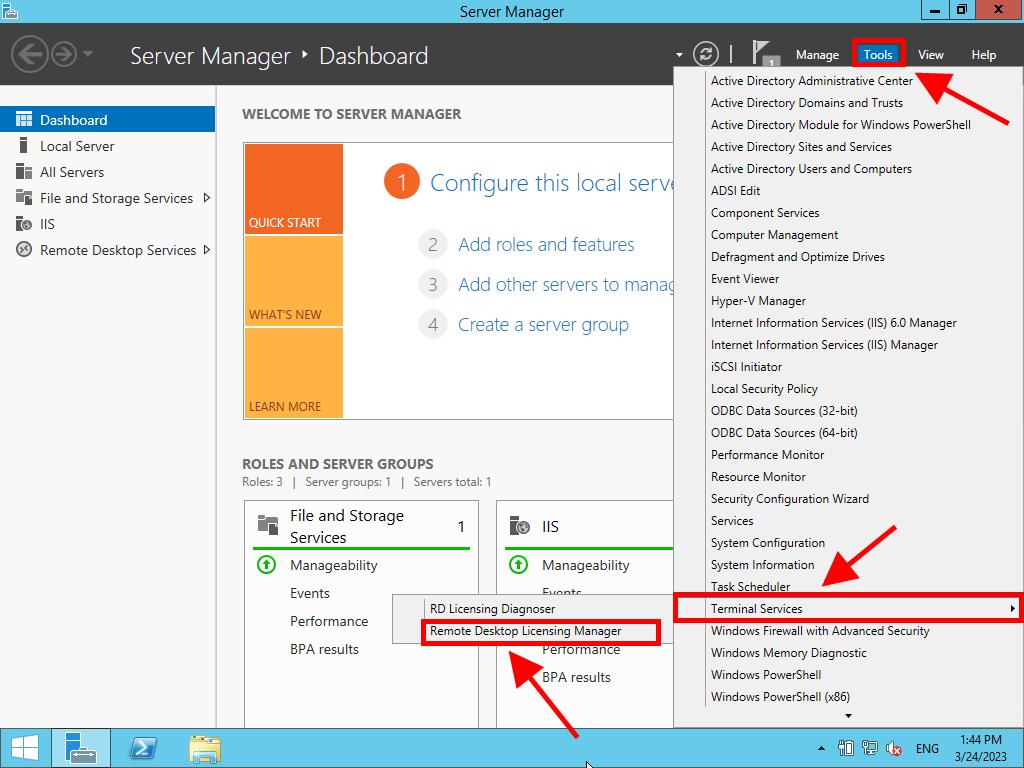
- In the top right, select Tools, then Terminal Services, and click Remote Desktop Licensing Manager.
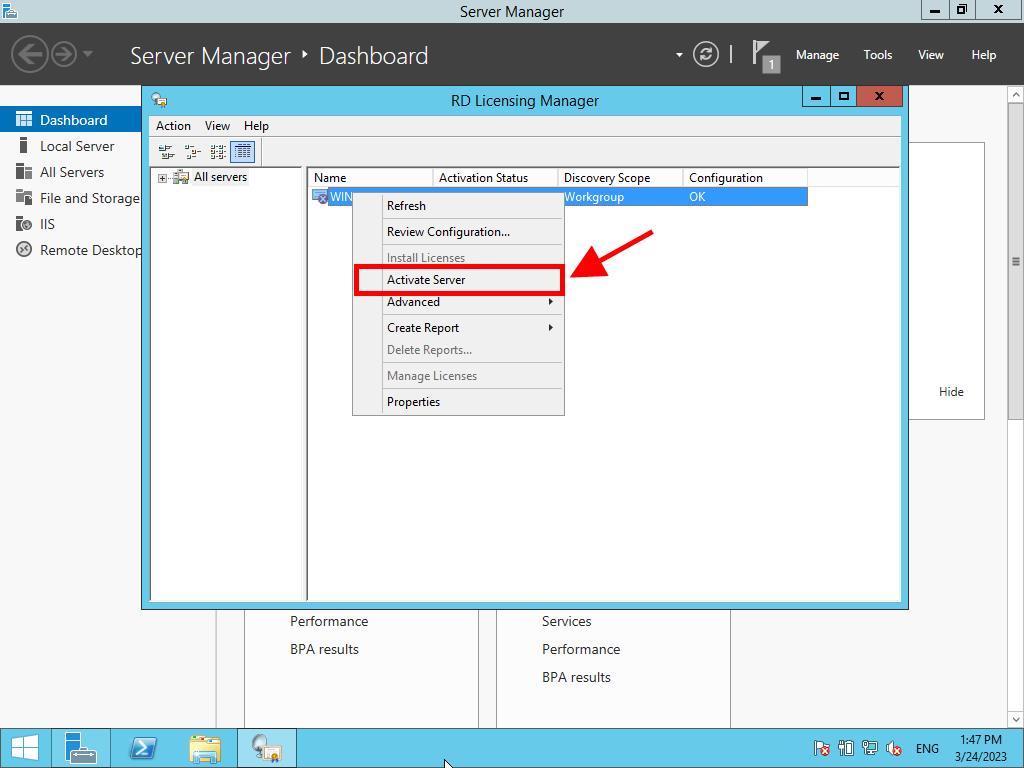
- Right-click the server and select Activate Server.
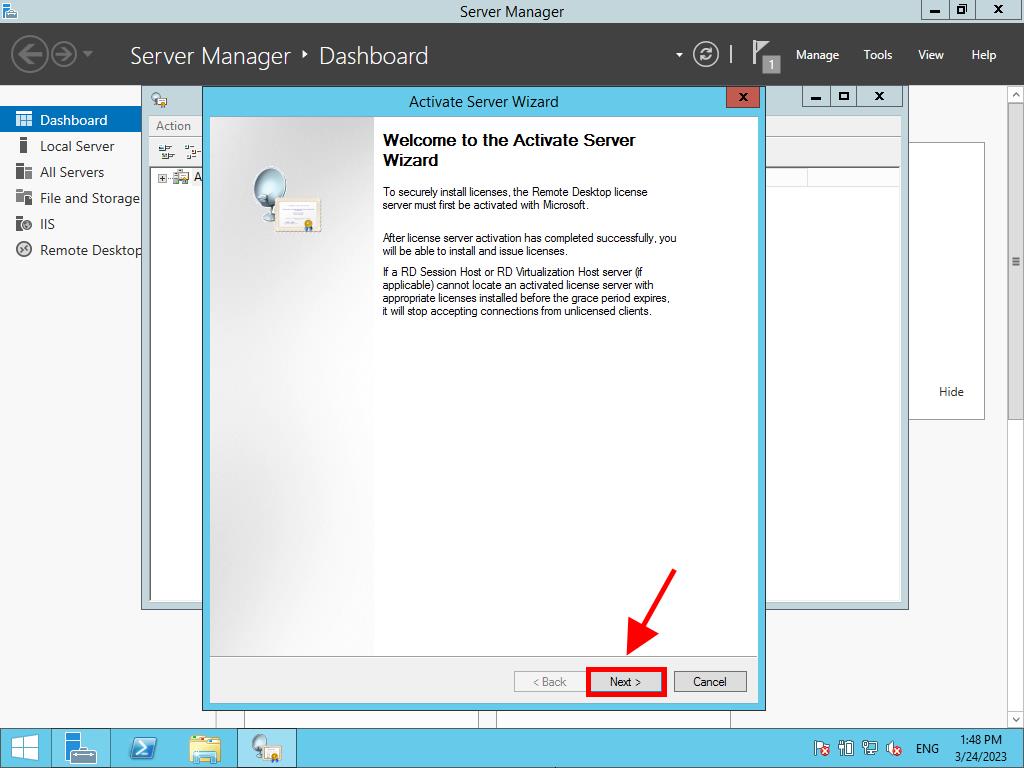
- The server activation wizard will open. Click Next.
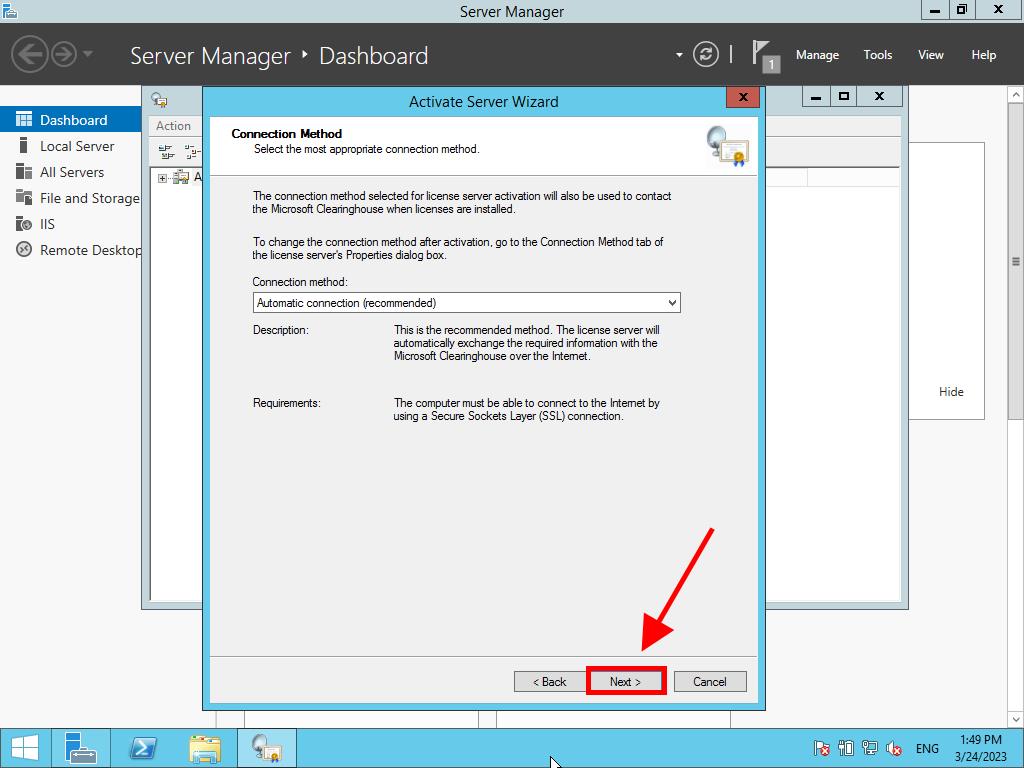
- Select the automatic connection method and click Next.
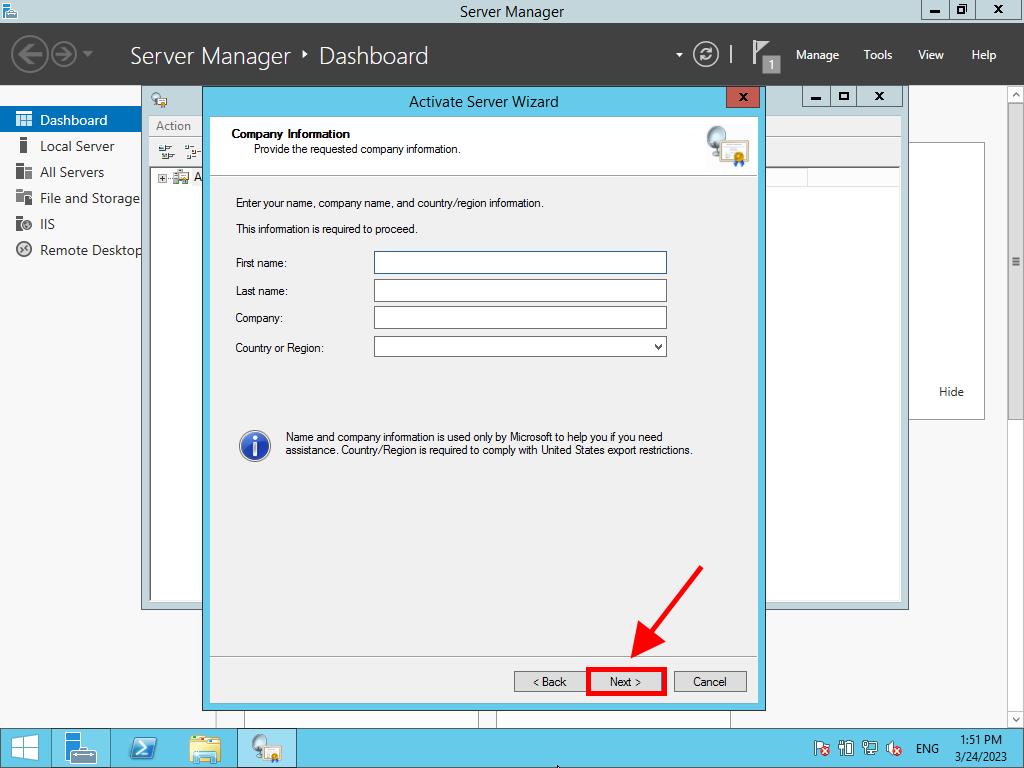
- Enter your details (first name, last name, region, and company name). Click Next.
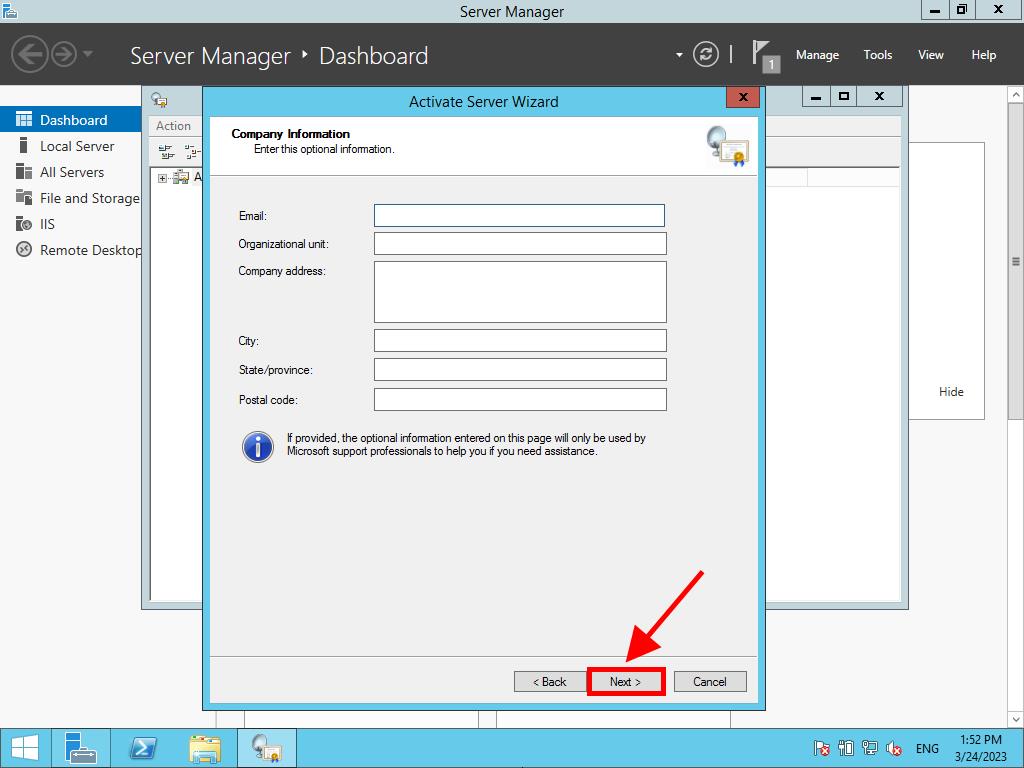
- Enter the company details and click Next.
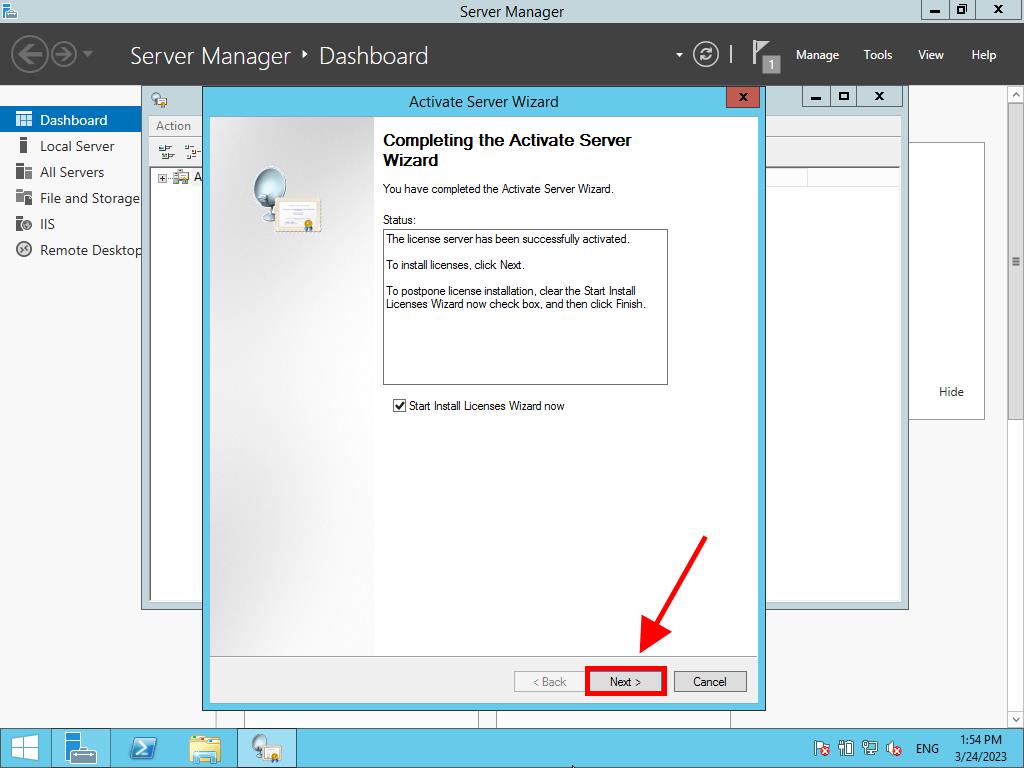
- Complete the activation of the licensing server. Start installing the license by clicking Next.
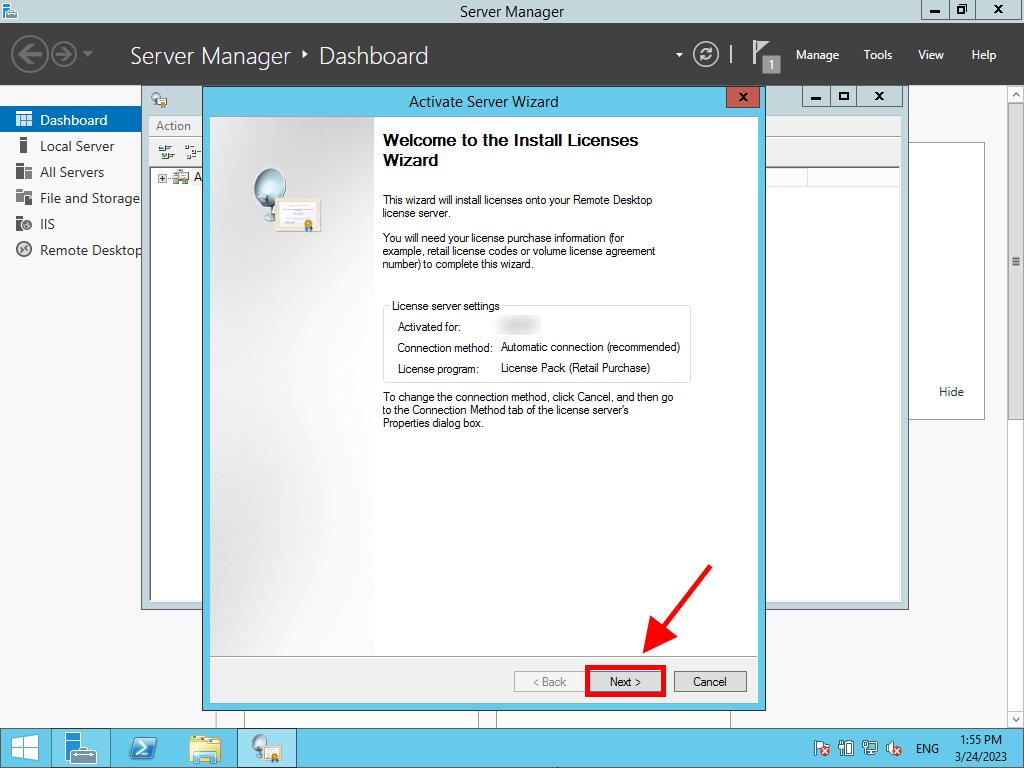
- Review your server configuration reminder and click Next.
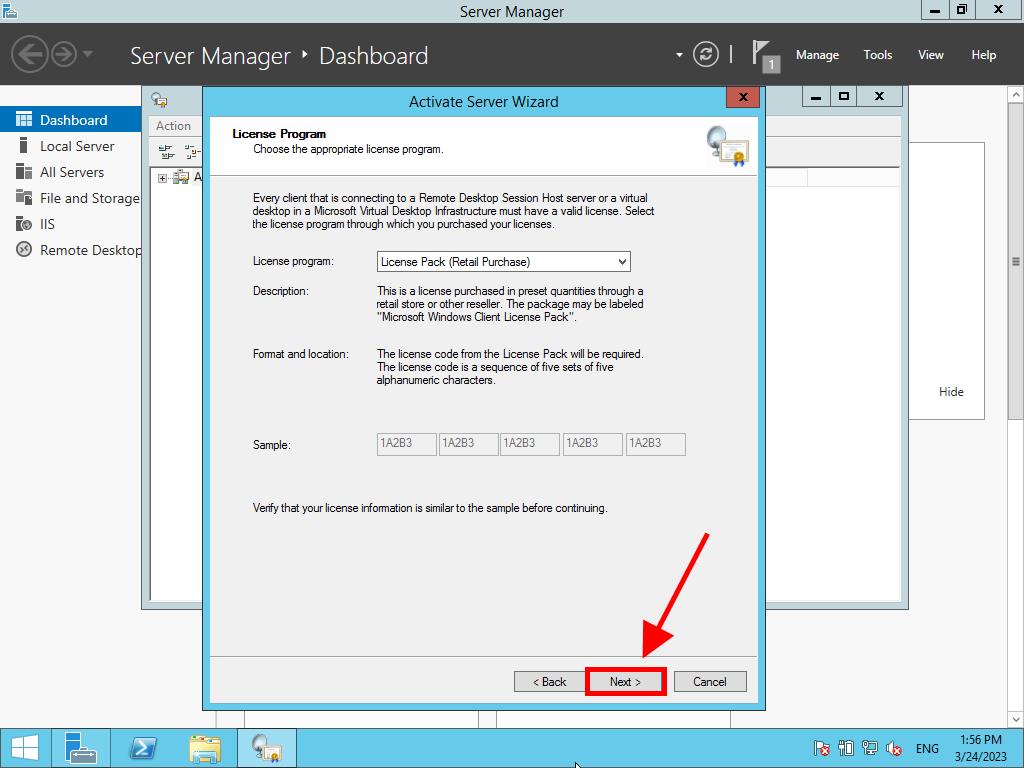
- In the License Program, select License Pack (Retail Purchase) and click Next.
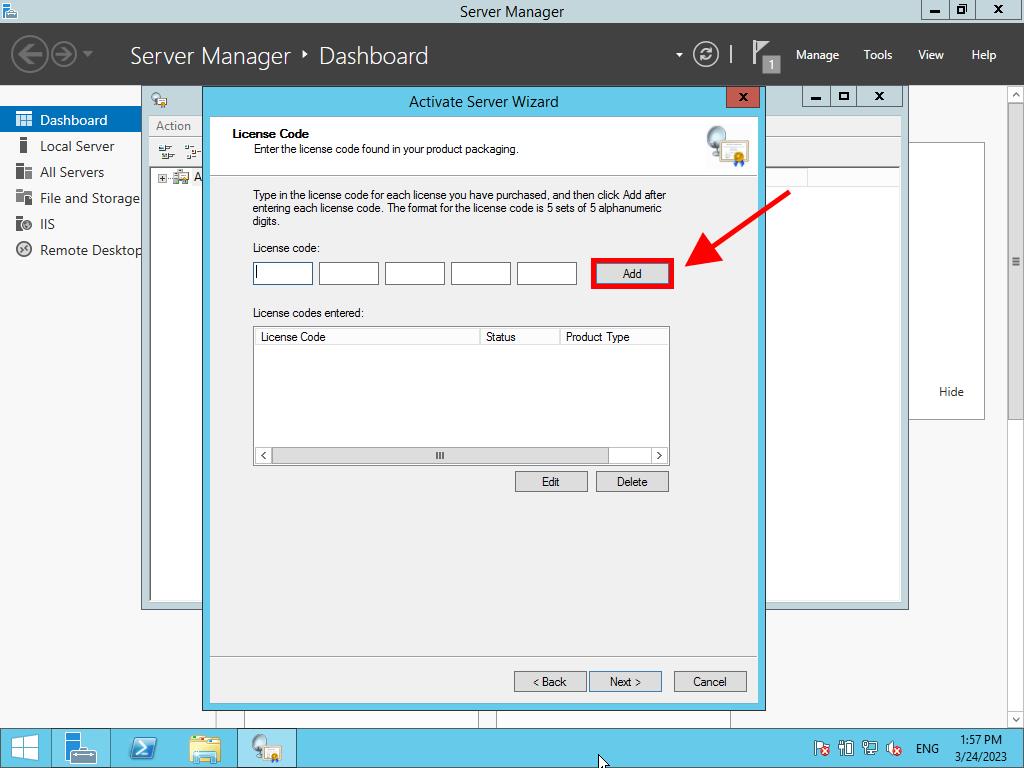
- Enter your RDS CALs product key and click Add.
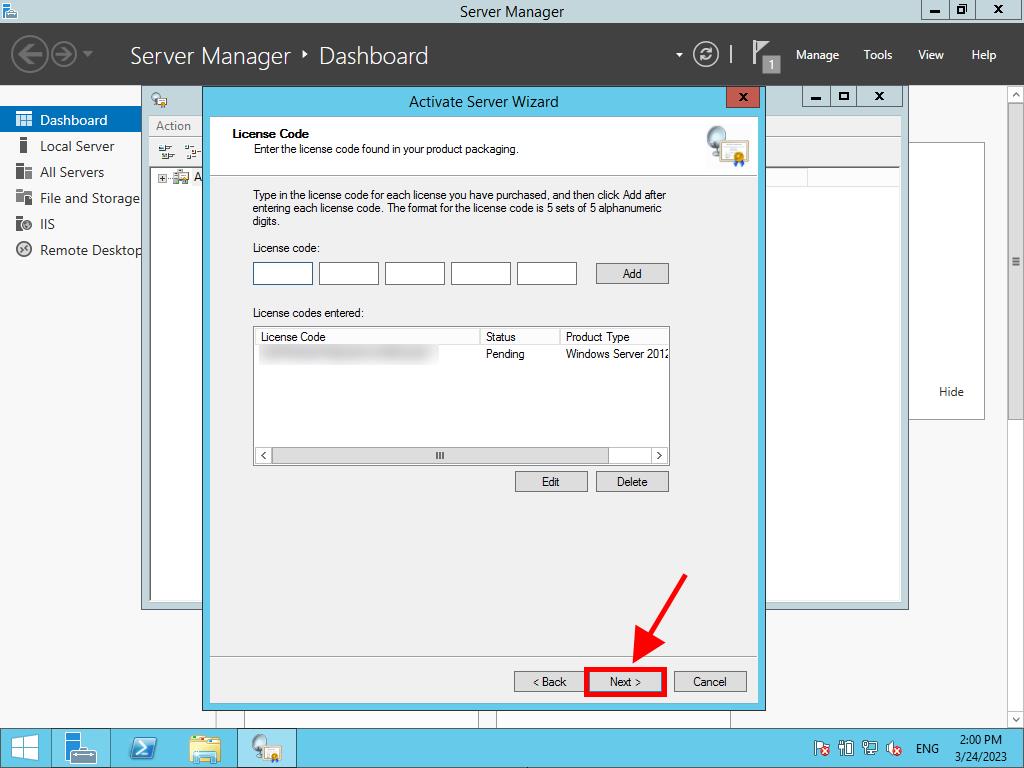
- After the license is validated, click Next.
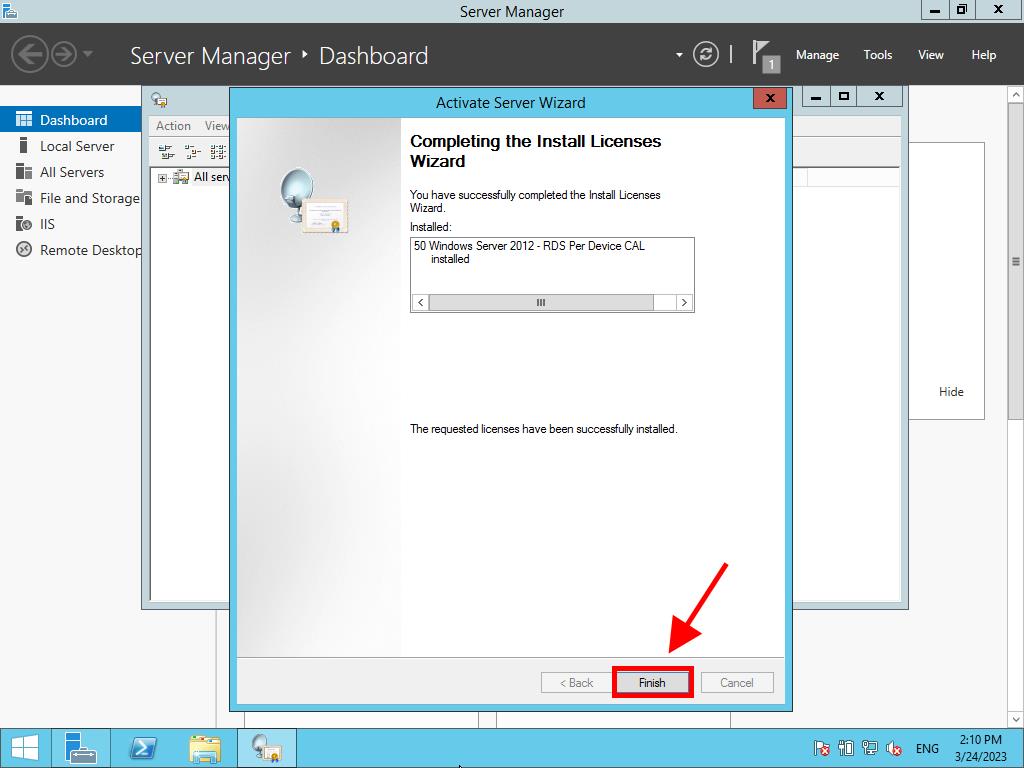
- The wizard will confirm successful installation of the license. Click Finish.
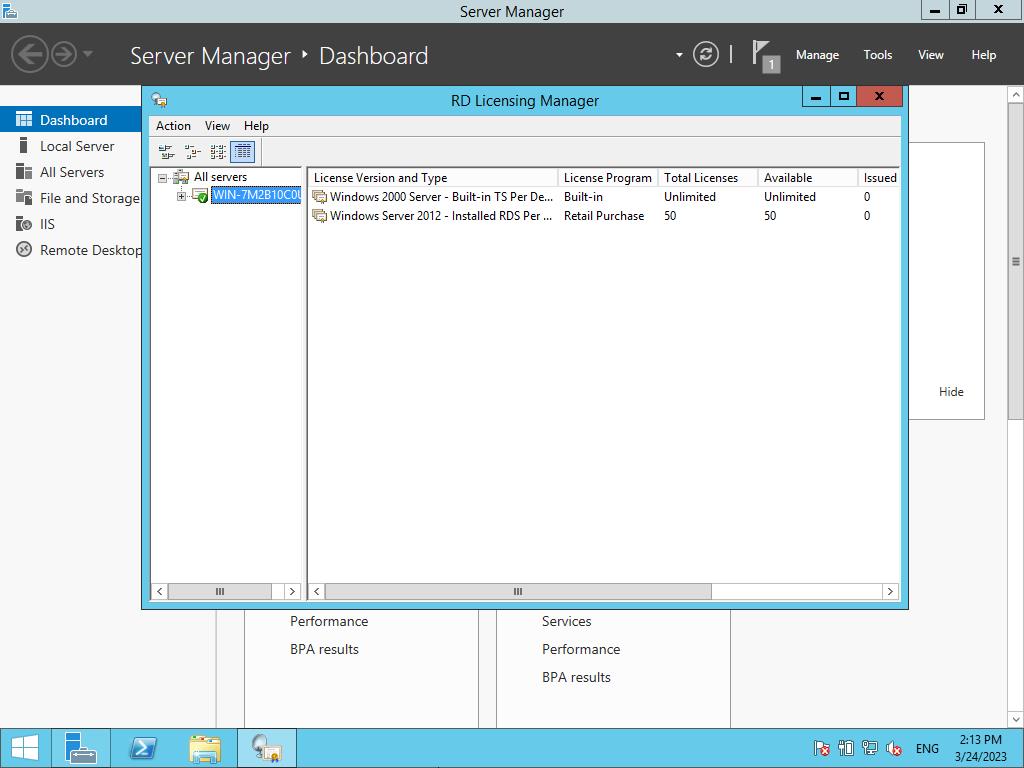
- Your licensing server is now ready to issue and manage licenses. Verify by selecting your server's name to see available and issued licenses, which should initially be zero.