Guidelines for Installing Windows Server 2008 R2
To commence a clean installation using a bootable USB, proceed with the following instructions:
- Power up your server to load Windows normally; insert the bootable Windows Server USB, then reboot your machine.
- The system will start from the Windows Server USB. Hit any key when prompted with the message Press any key to boot from CD or DVD.
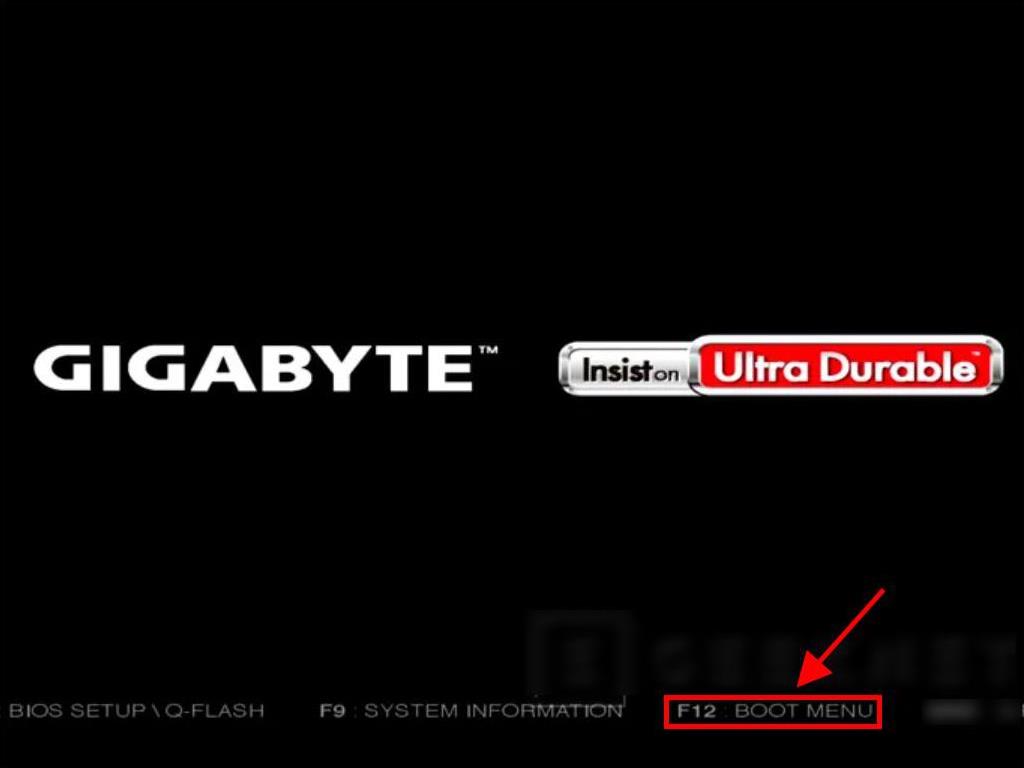
- Reboot your server, and upon seeing the manufacturer's logo, access the BOOT menu using the key often indicated as F2, F10, F11, F12, or Del.
- Modify the boot priority to USB first.
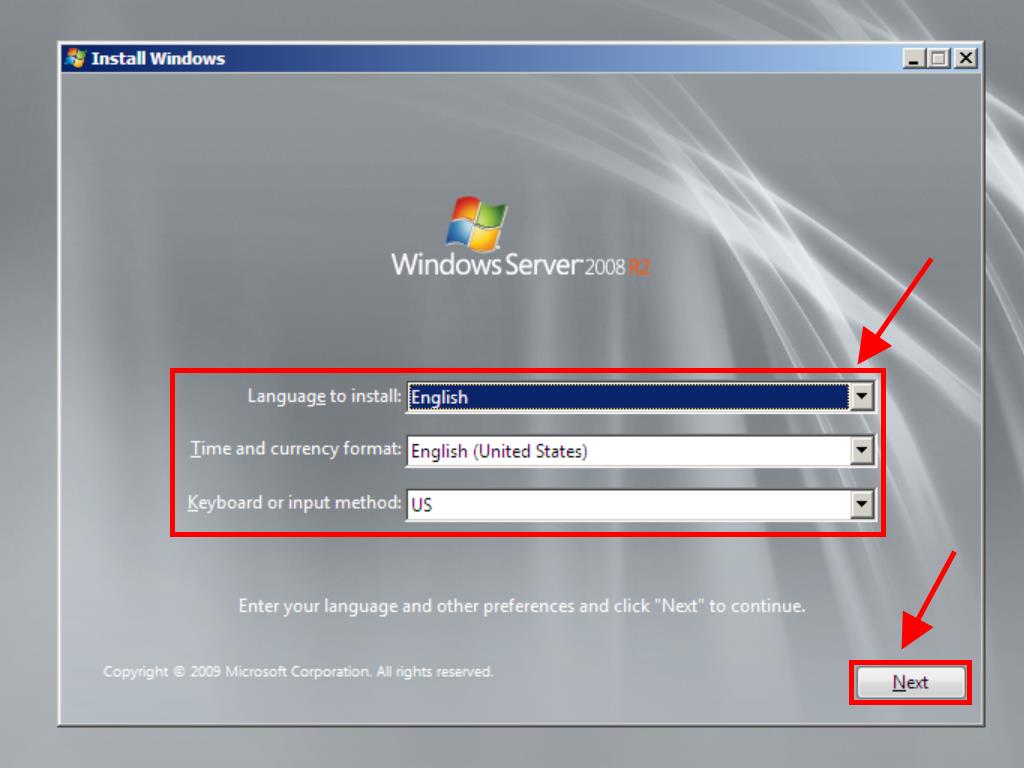
- Within the setup menu, select your preferred language, time and currency format, and keyboard or input method, then click Next.
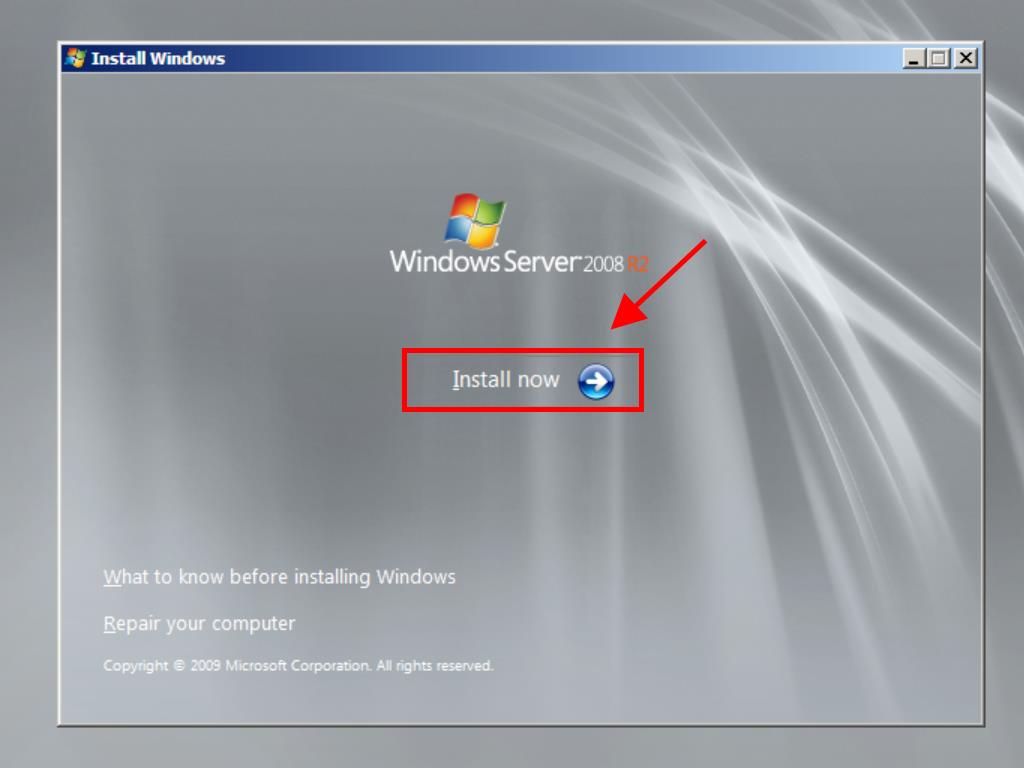
- Click Install now to initiate the installation process.
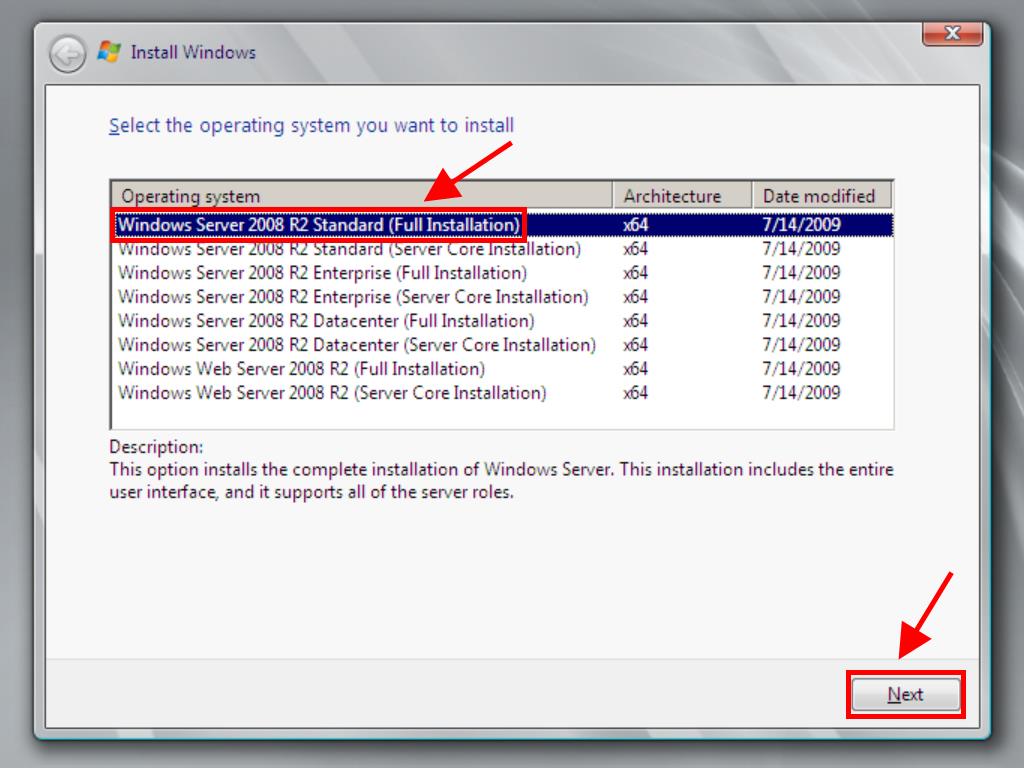
- Select the Windows Server edition for full installation and press Next.
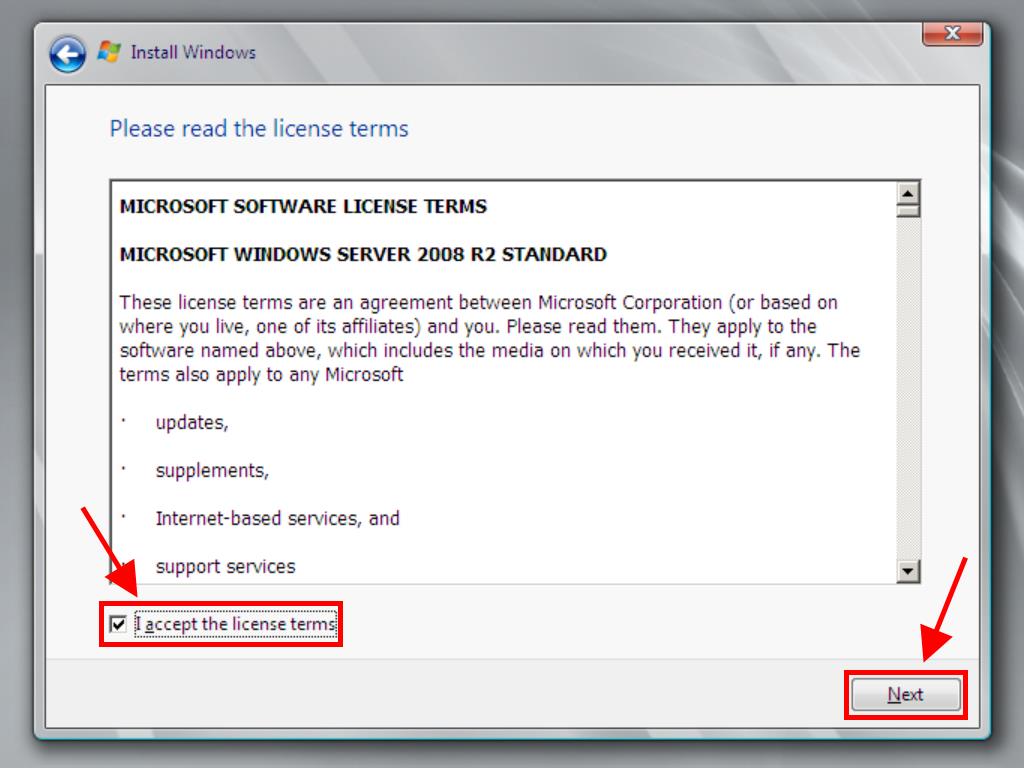
- Consent to the license terms and click on Next.
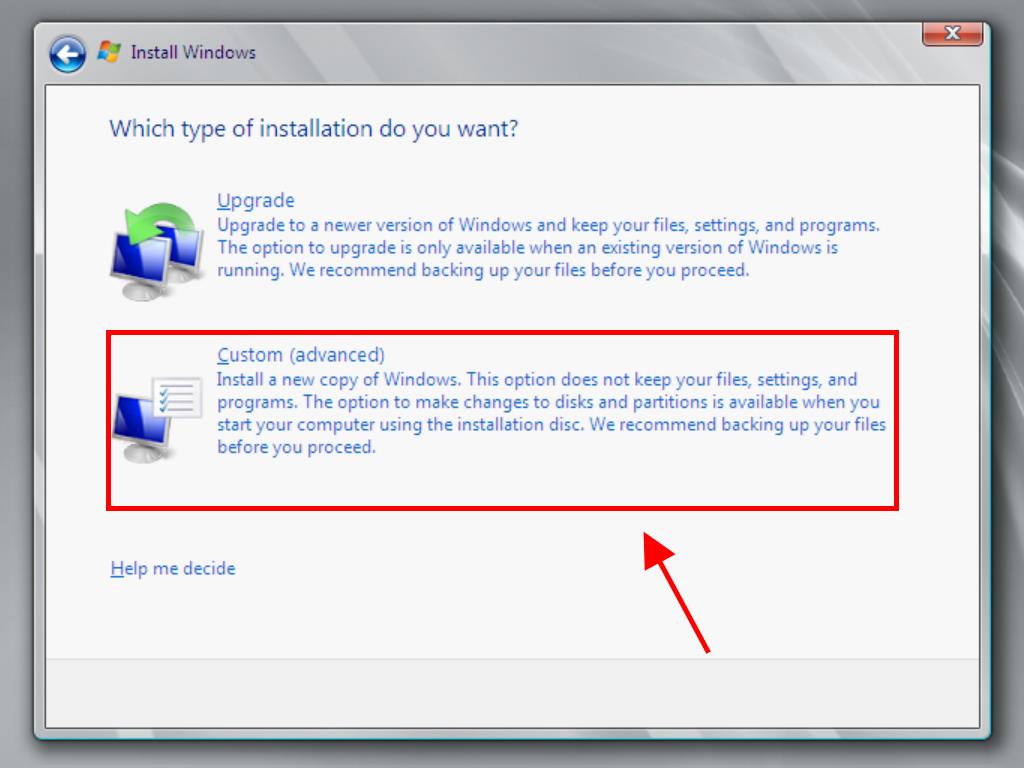
- Proceed by selecting Custom (advanced).
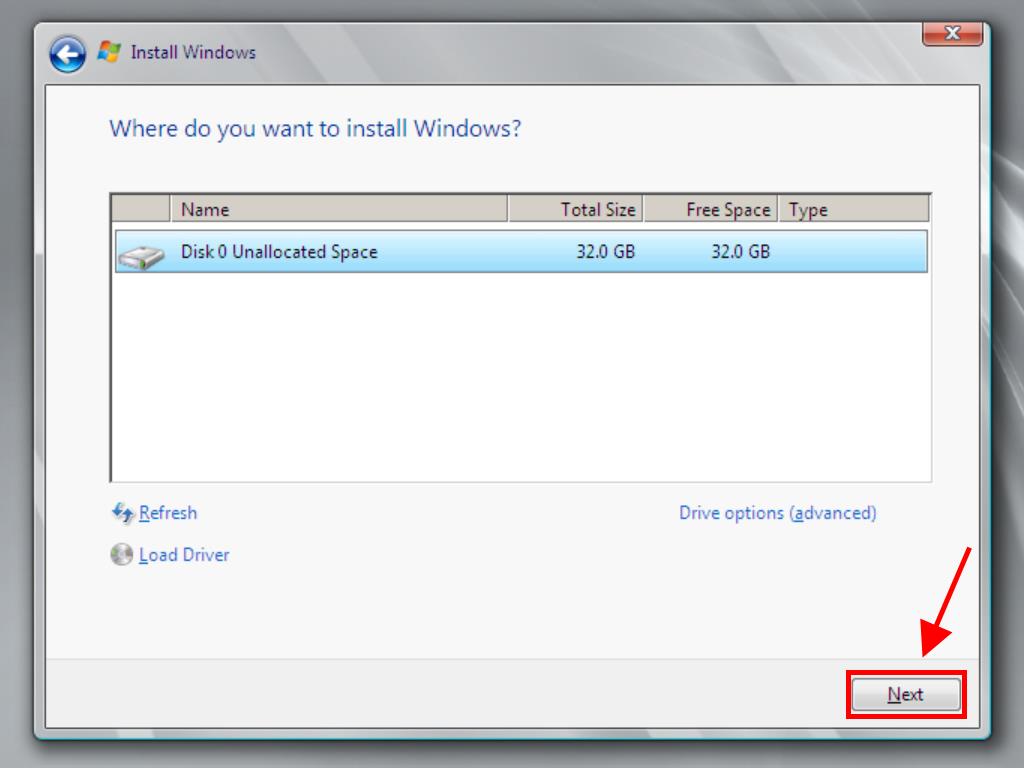
- Choose the hard drive where you wish to install Windows Server and hit Next.
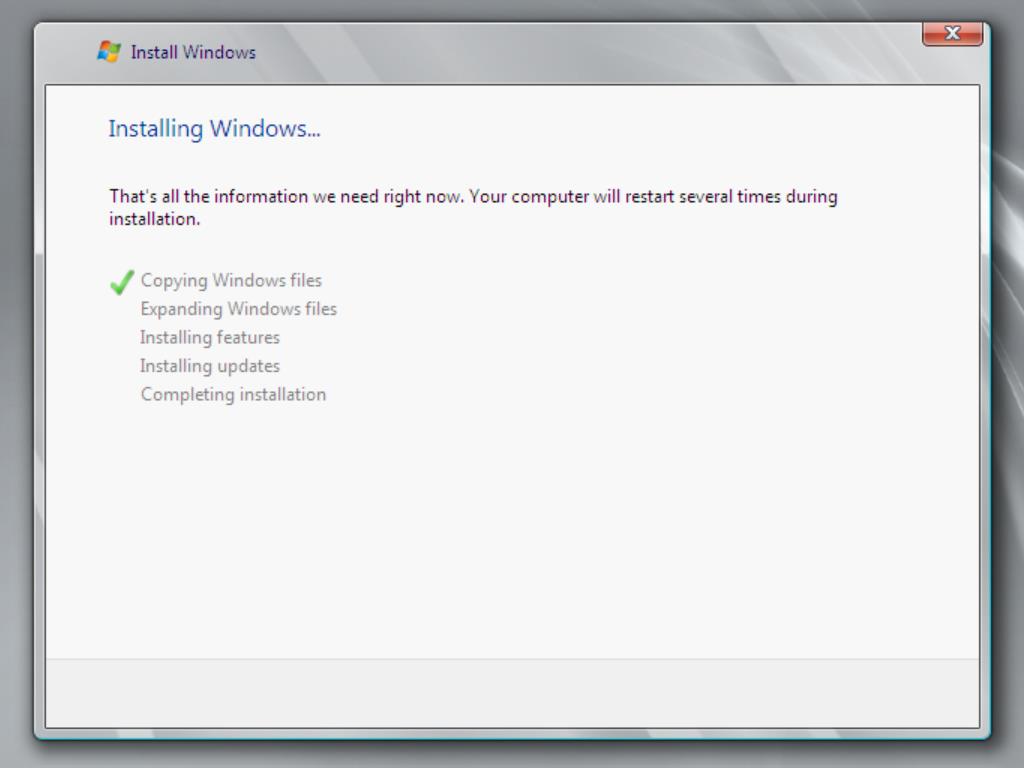
- The installation of Windows Server will now commence and may take several minutes.
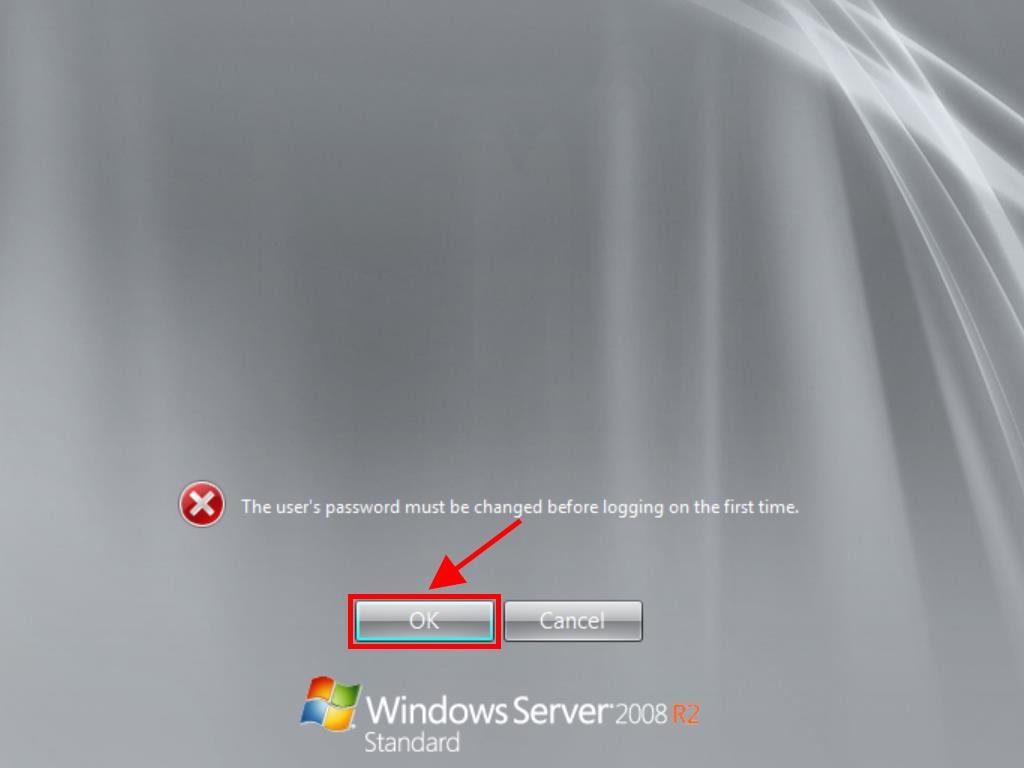
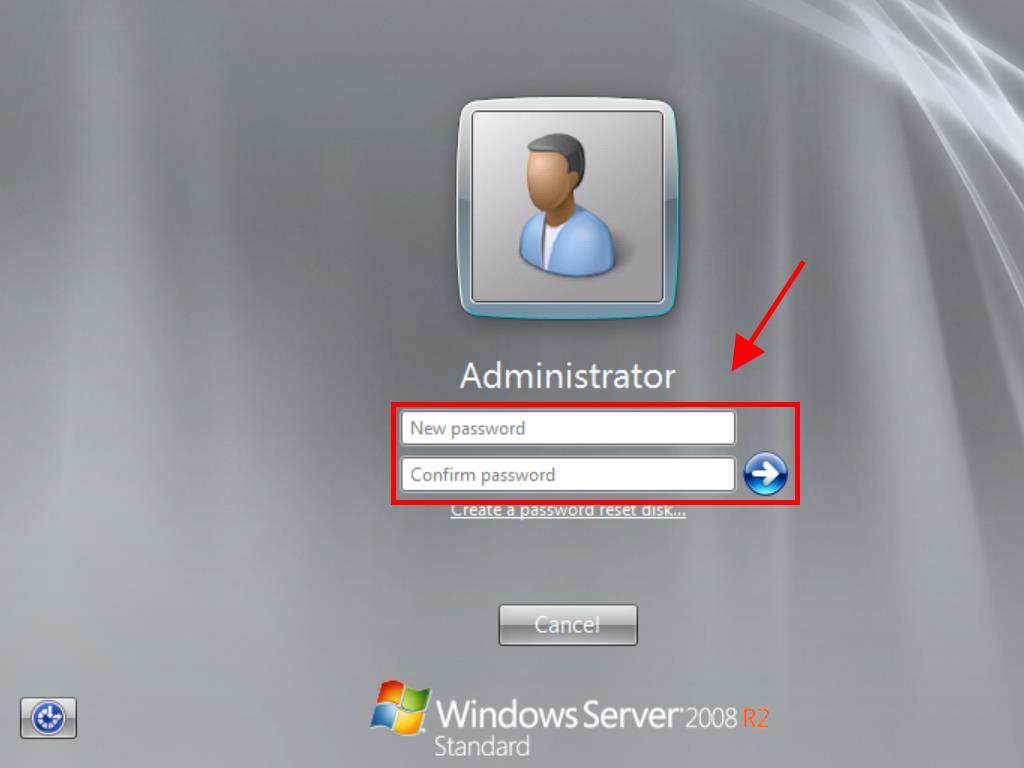
- Following this, select OK to set a memorable password.
- Input a password that's easy for you to remember.
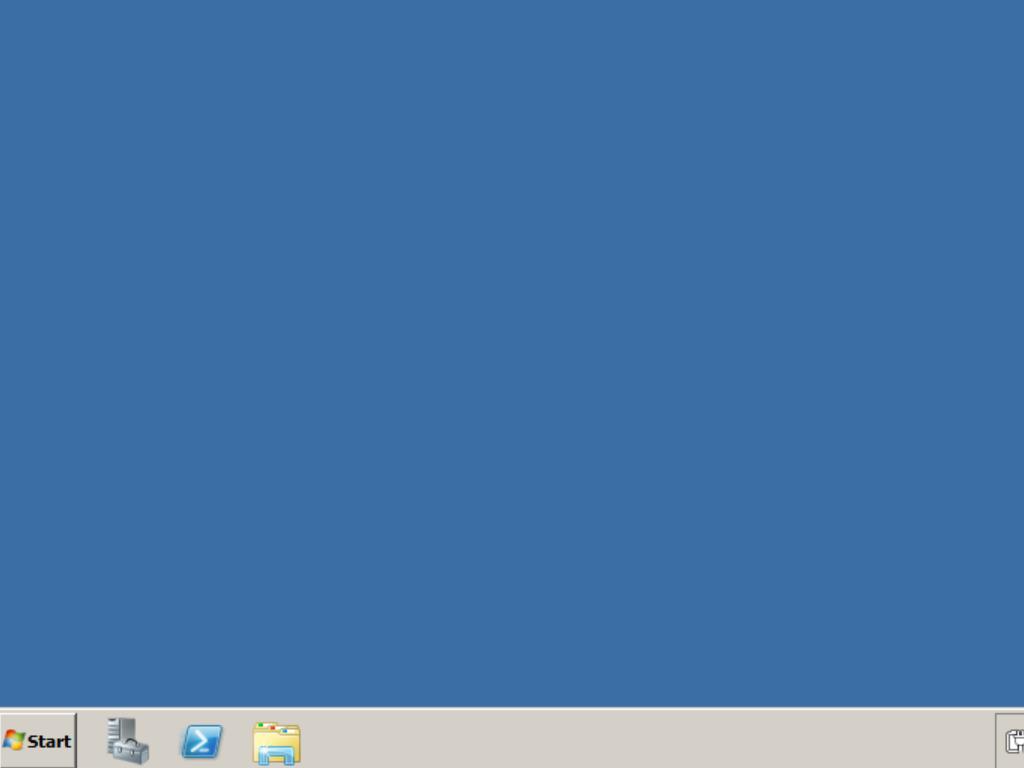
- You will have successfully installed our Windows Server at this point.

Note: Should the Windows Server setup fail to start upon reboot, it may be necessary to alter the boot sequence in your computer's BIOS to prioritize USB booting.
Recommendation: For optimal performance, we suggest deleting all existing partitions on the hard drive. If using a new drive, simply proceed by clicking next.
 Sign In / Sign Up
 Orders
 Product Keys
 Downloads

 Go to United States of America - English (USD)