Sign In / Sign Up
 Orders
 Product Keys
 Downloads

 Go to United States of America - English (USD)
Guide to Installing Windows 7
To initiate a clean Windows 7 installation using a USB bootable drive, adhere to these instructions:
- Power up your PC to load Windows normally; insert the Windows 7 DVD or USB and restart your machine.
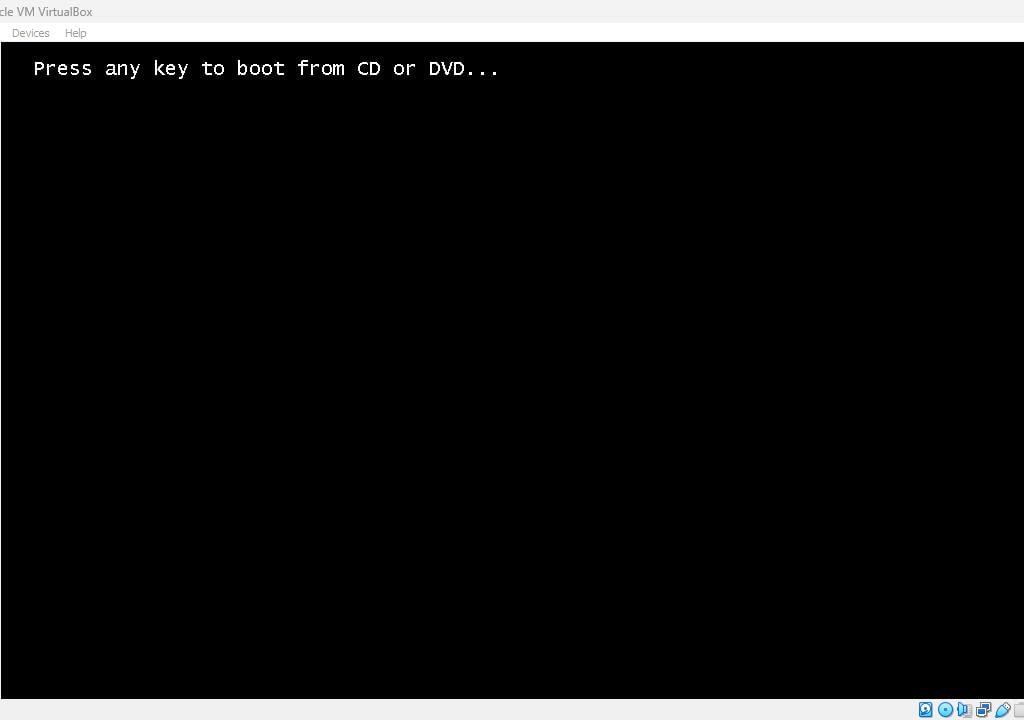
- The system should boot using the Windows 7 USB. Hit any key when prompted with the Press any key to boot from CD or DVD message.
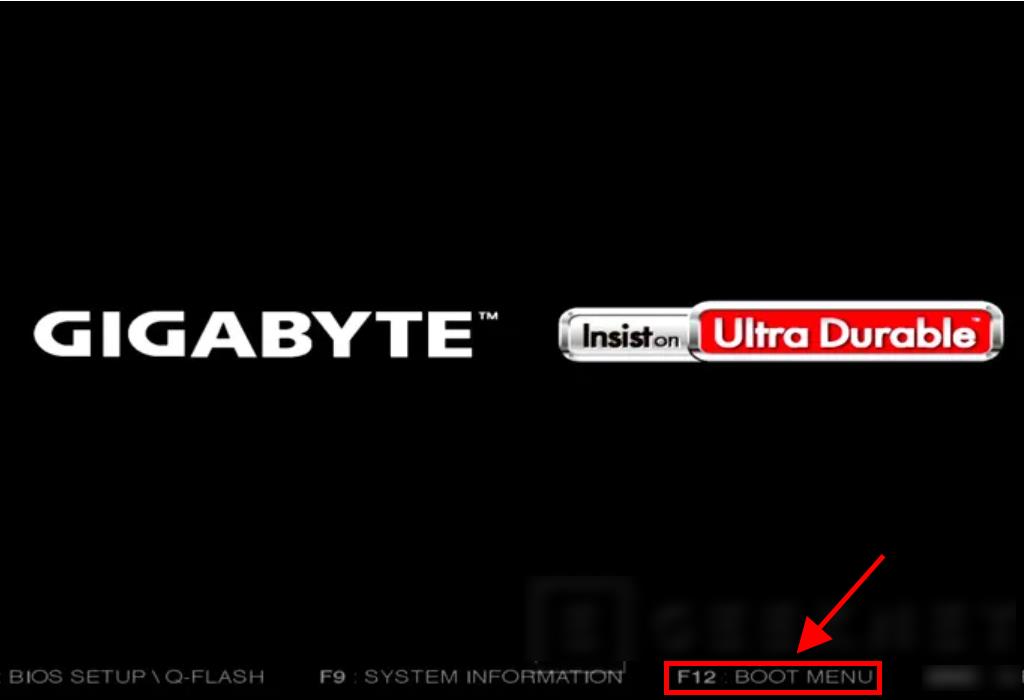
- Upon restarting, when you see the manufacturer's logo, press the BOOT menu key—commonly F2, F10, F11, F12 or Del.
- Modify the boot sequence to USB first.
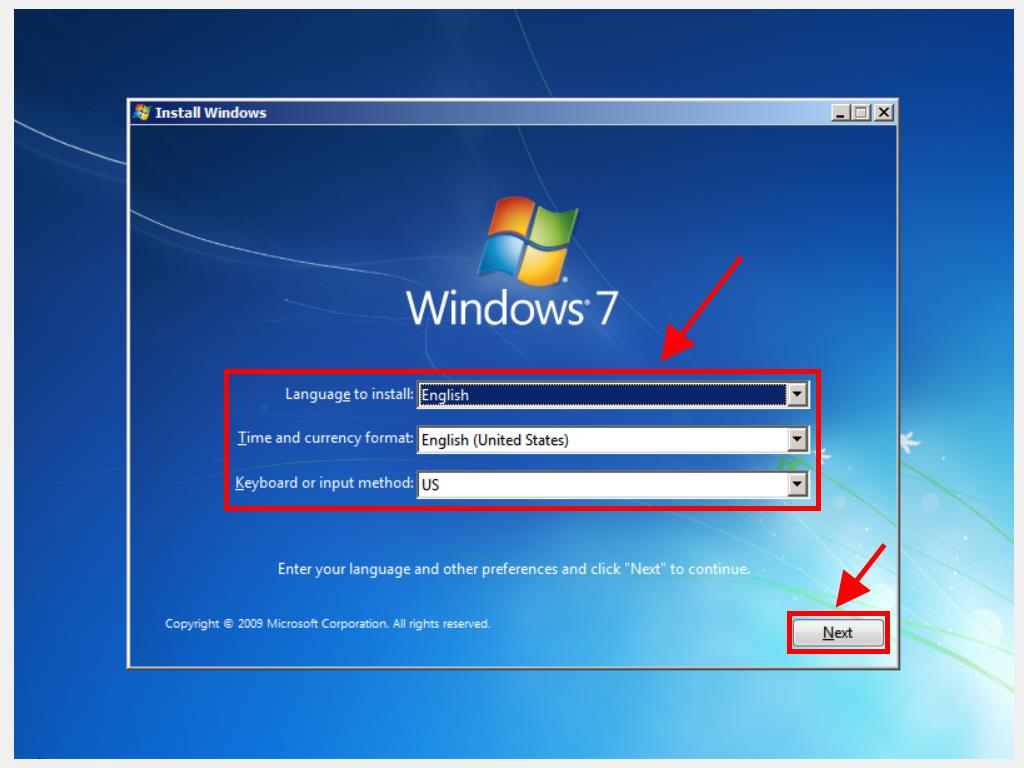
- Within the setup interface, choose your preferred language, time and currency settings, and input method, then click Next.
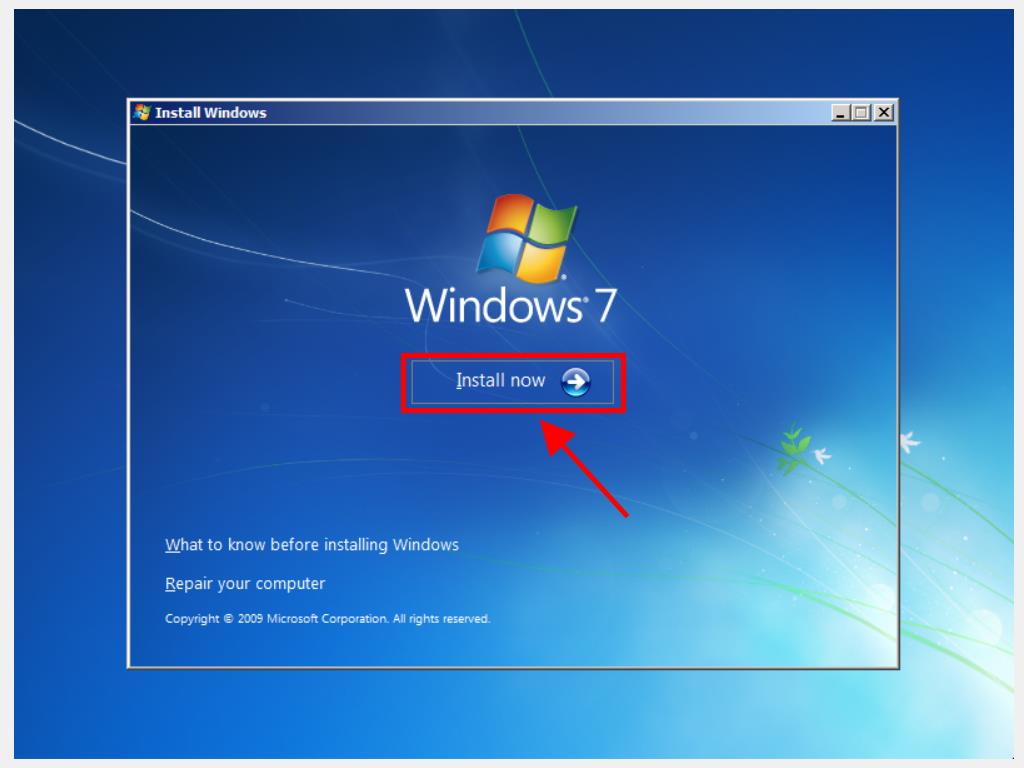
- Click Install now to commence installation.
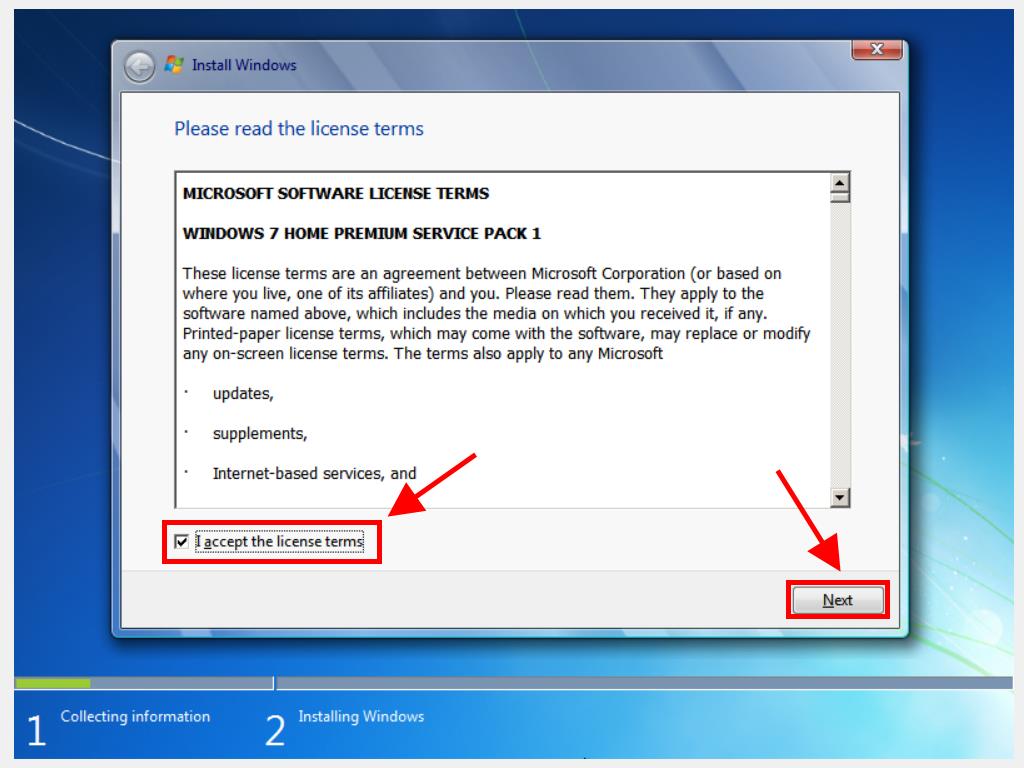
- Agree to the license terms and proceed by clicking Next.
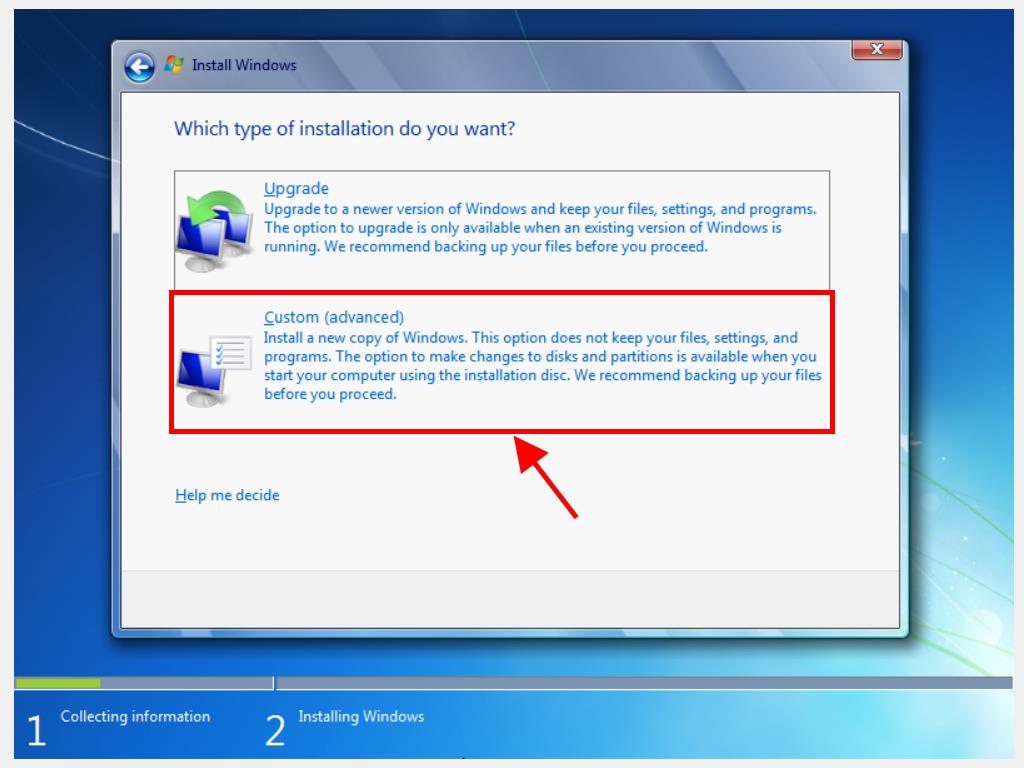
- Select Custom (advanced) on the subsequent screen.
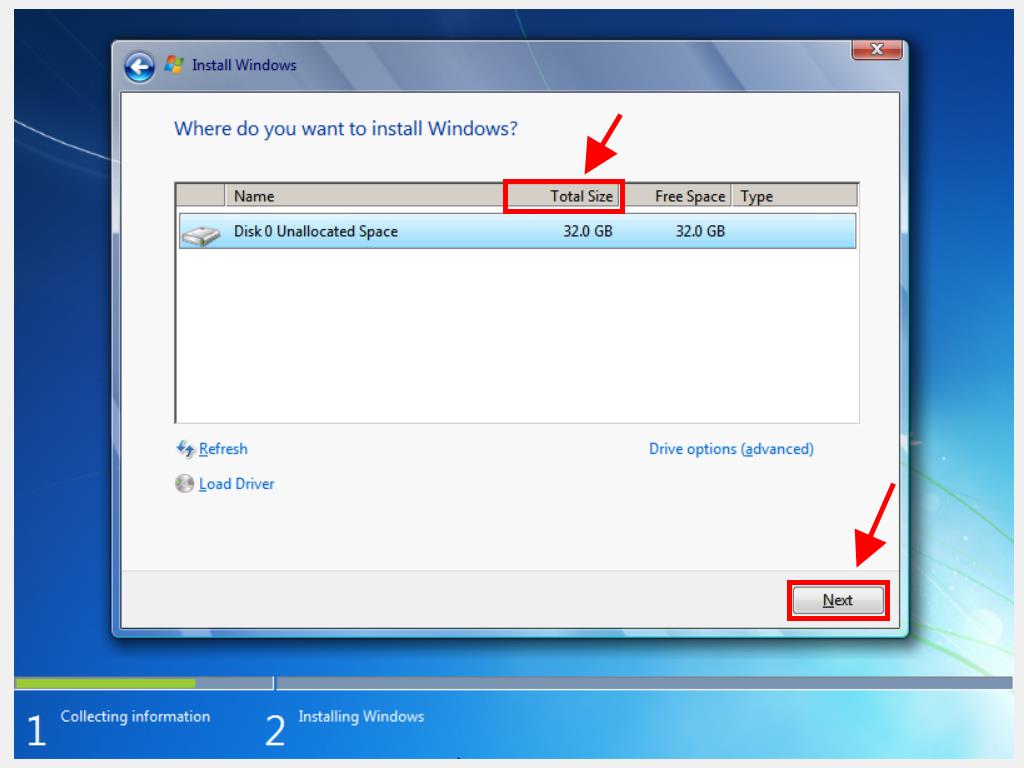
- Choose the installation drive by looking at the Total size column for the most space in GB and click Next.
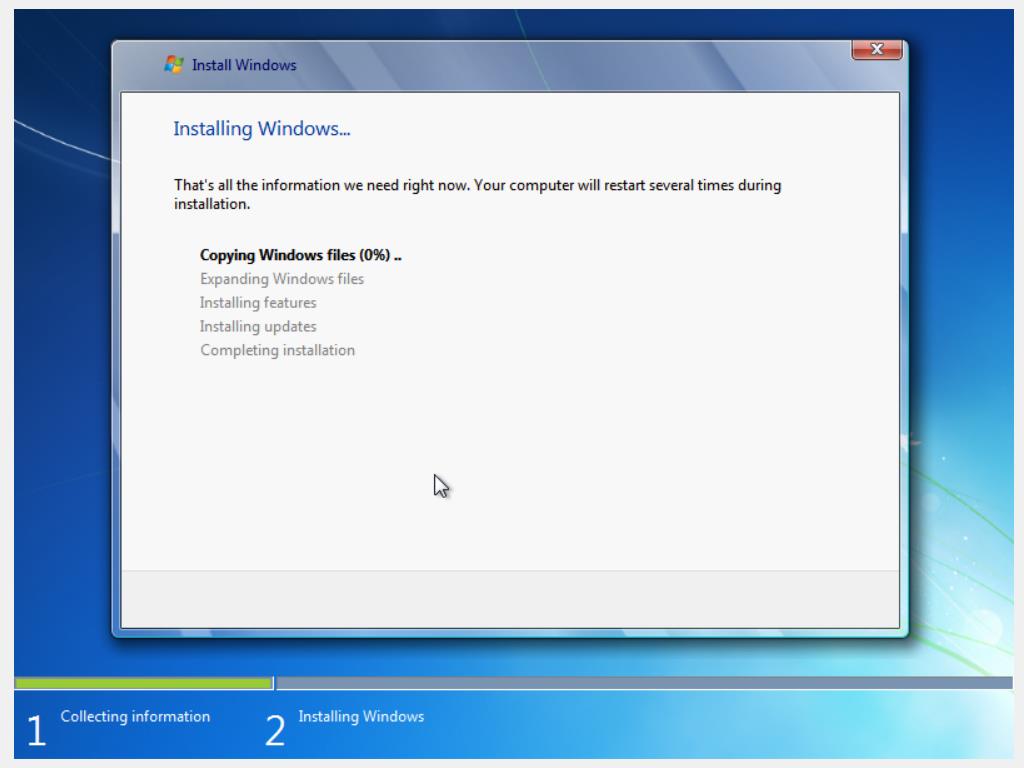
- Click Next, and Windows will commence the installation on your PC.
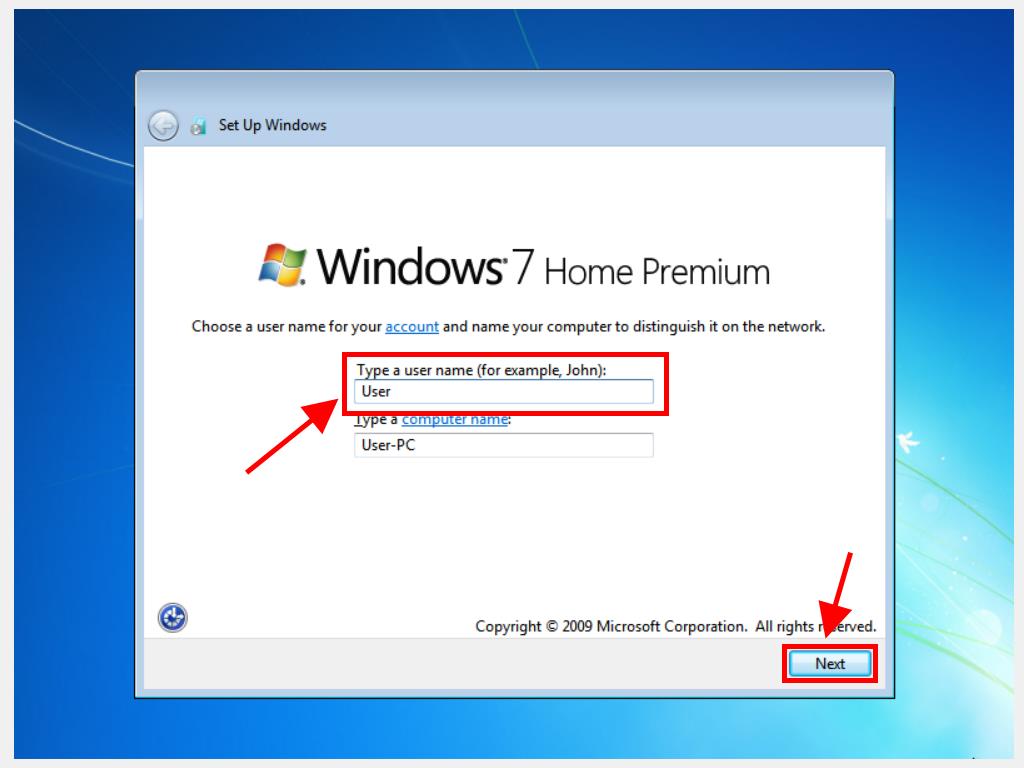
- Following several restarts, personalise your PC by naming it and selecting Next.
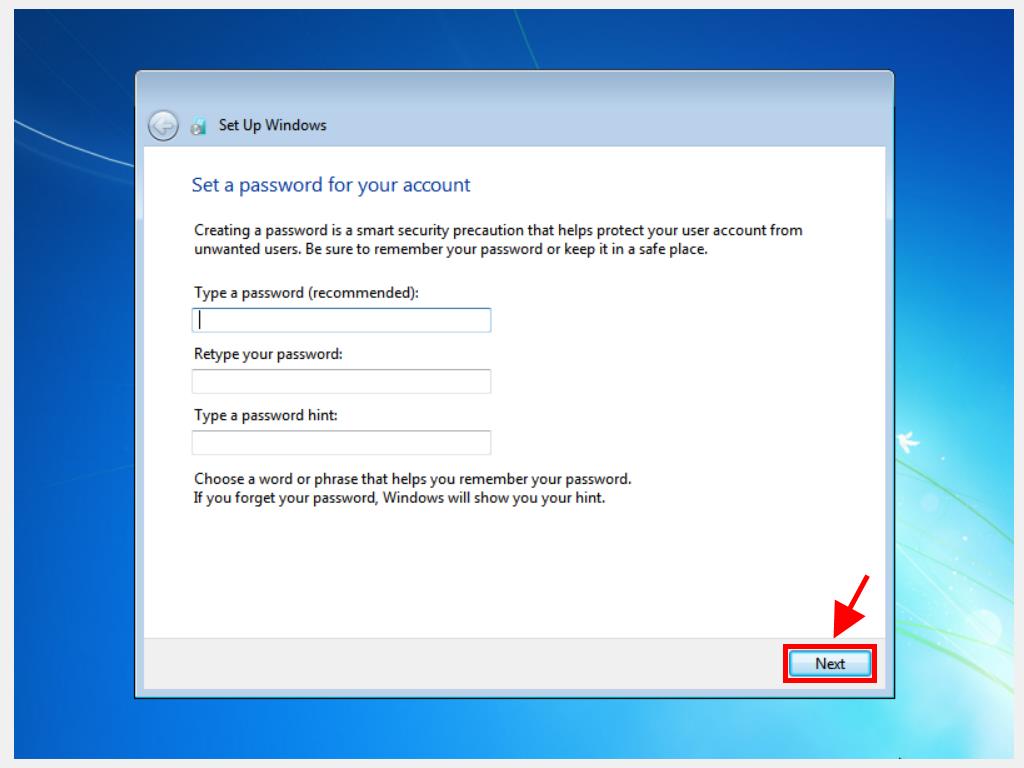
- Secure your account with a password or proceed without one by clicking Next.
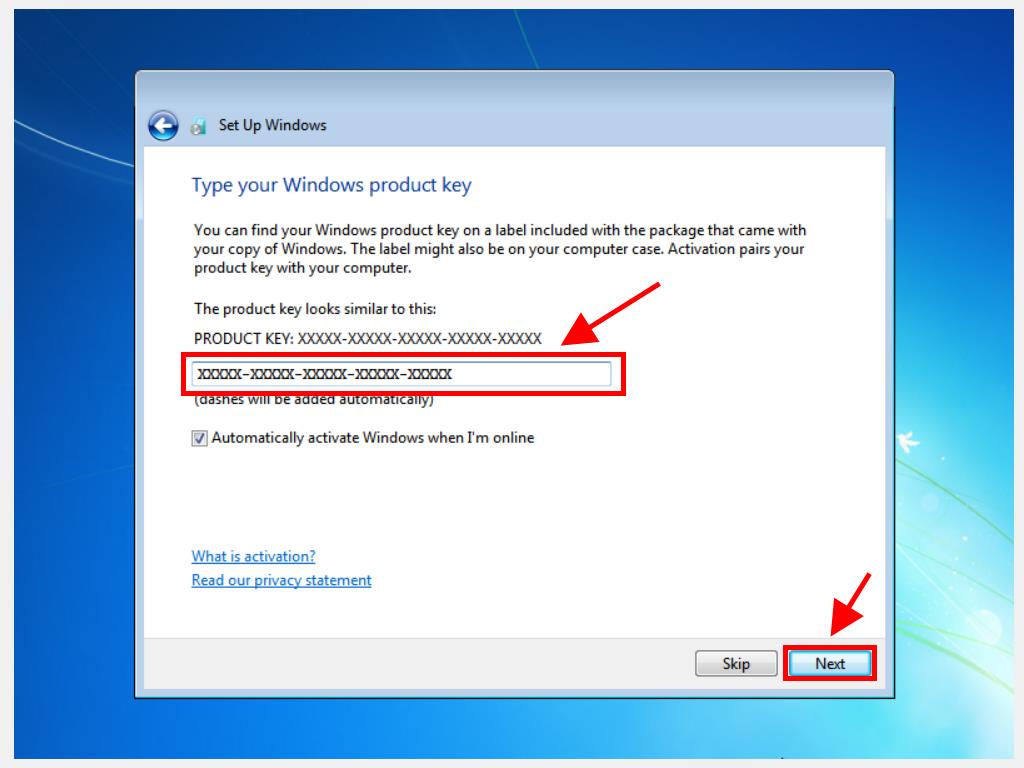
- Input the product key now. Click Next.
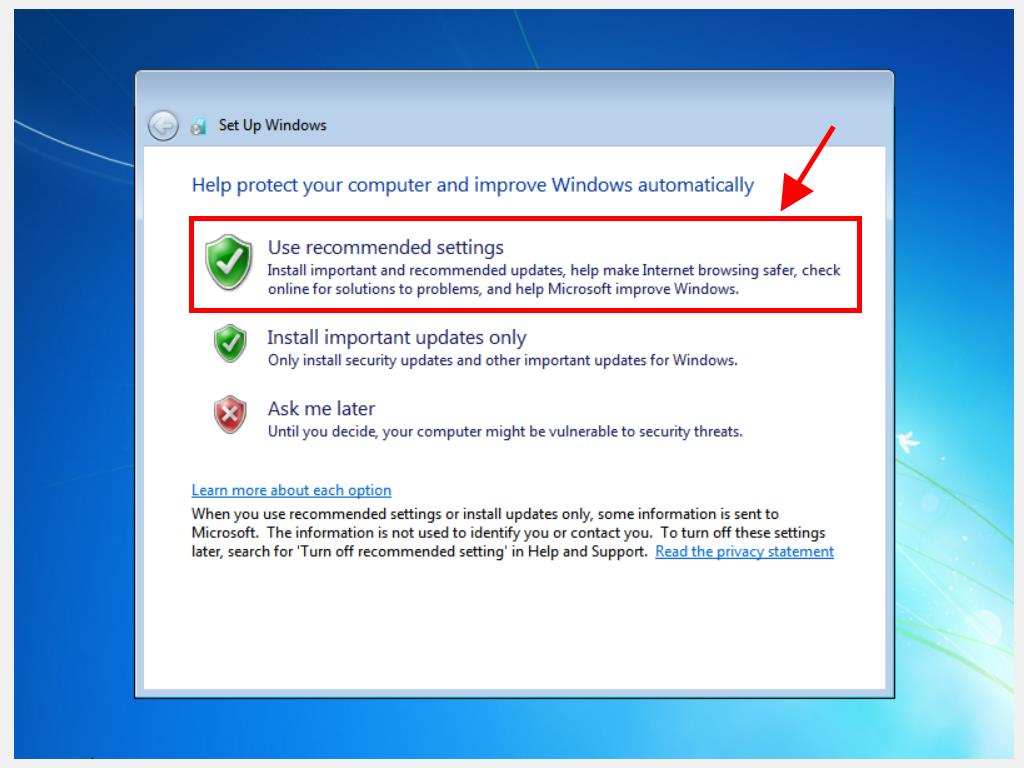
- Select Use recommended settings for integrated Windows protection.
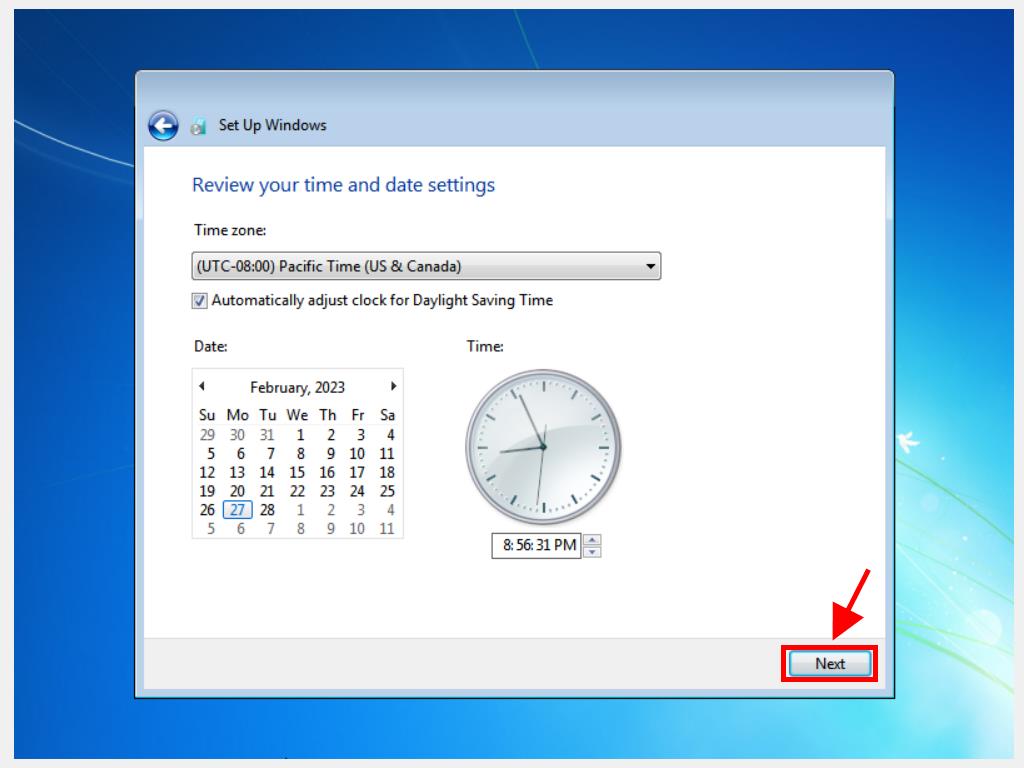
- Adjust the time and date, then click Next.
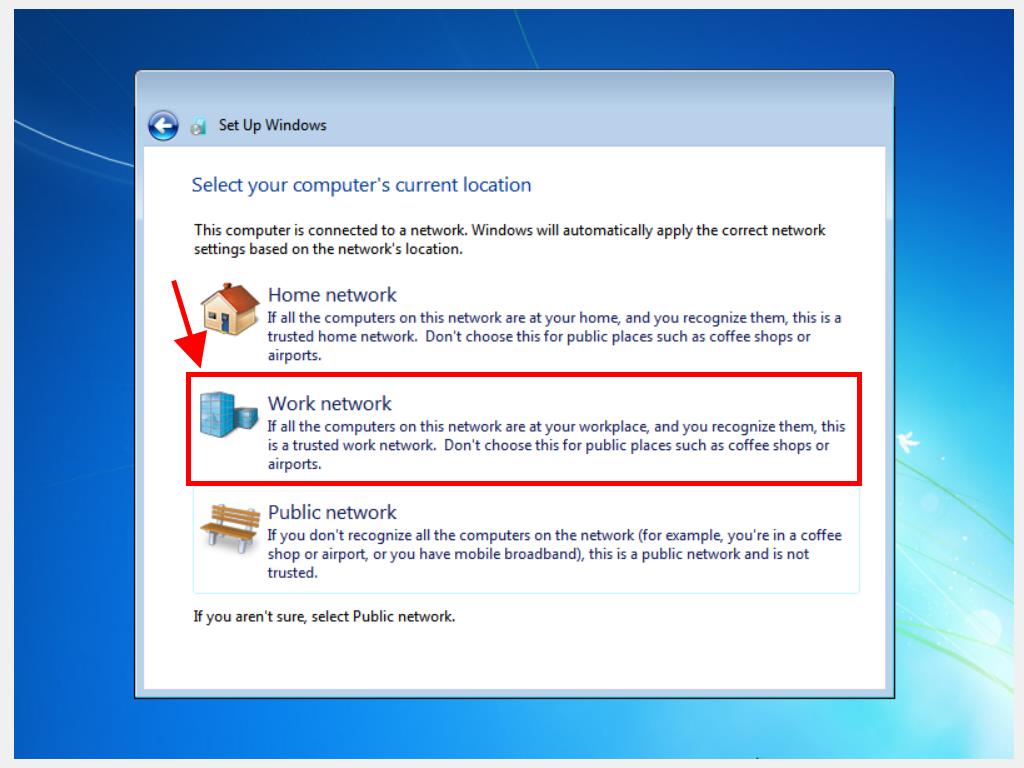
- For Network Settings, select the best fit or opt for a standard configuration. Choose Work network.
- Shortly, Windows 7 will be fully operational on your computer.
Note: If you restart and Windows loads instead, adjust the boot sequence in your PC's BIOS to prioritize the DVD.
Note: Determine the appropriate drive by its storage capacity.
Note: It is crucial to input the product key now to ensure the correct edition of Windows 7 is installed.