Crafting a Windows 11 Bootable USB Drive
To initiate the Windows 11 installation, begin by securing the .iso file and then proceed to formulate a bootable USB drive, often referred to as a pendrive.
Important: A USB device with at least 16 GB of storage is required.
The tools suitable for this process include:
Rufus
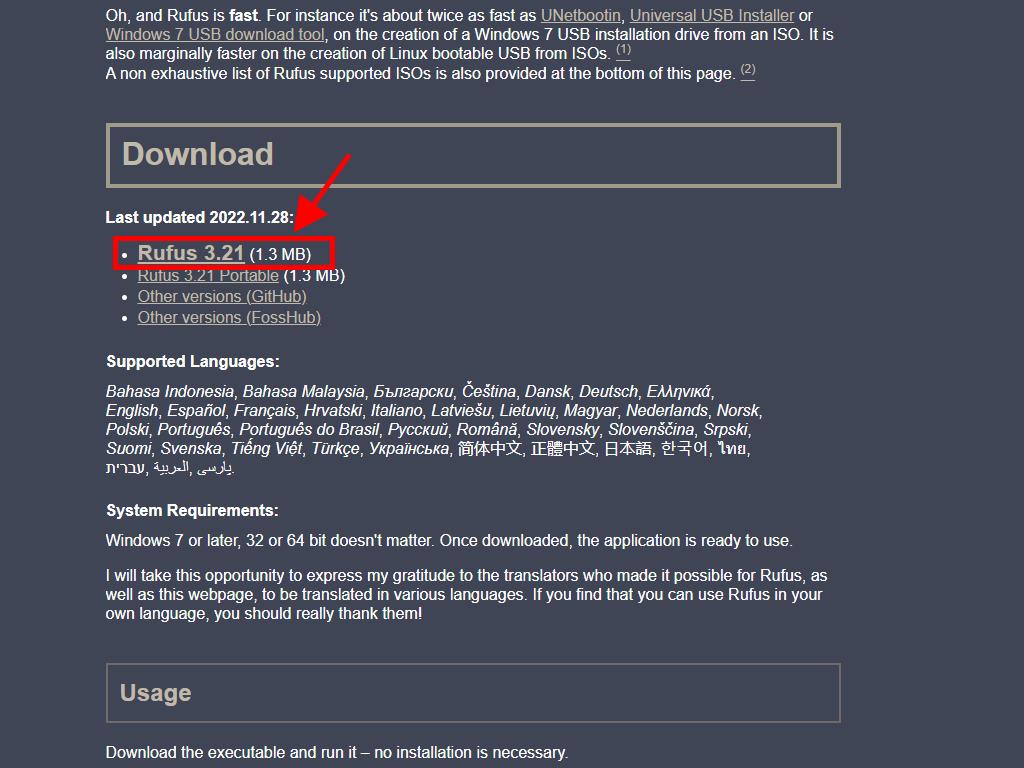
- Access a free download of Rufus here.
- Navigate to the Download section and procure the latest version of Rufus.
- Insert the USB and open the Rufus application.
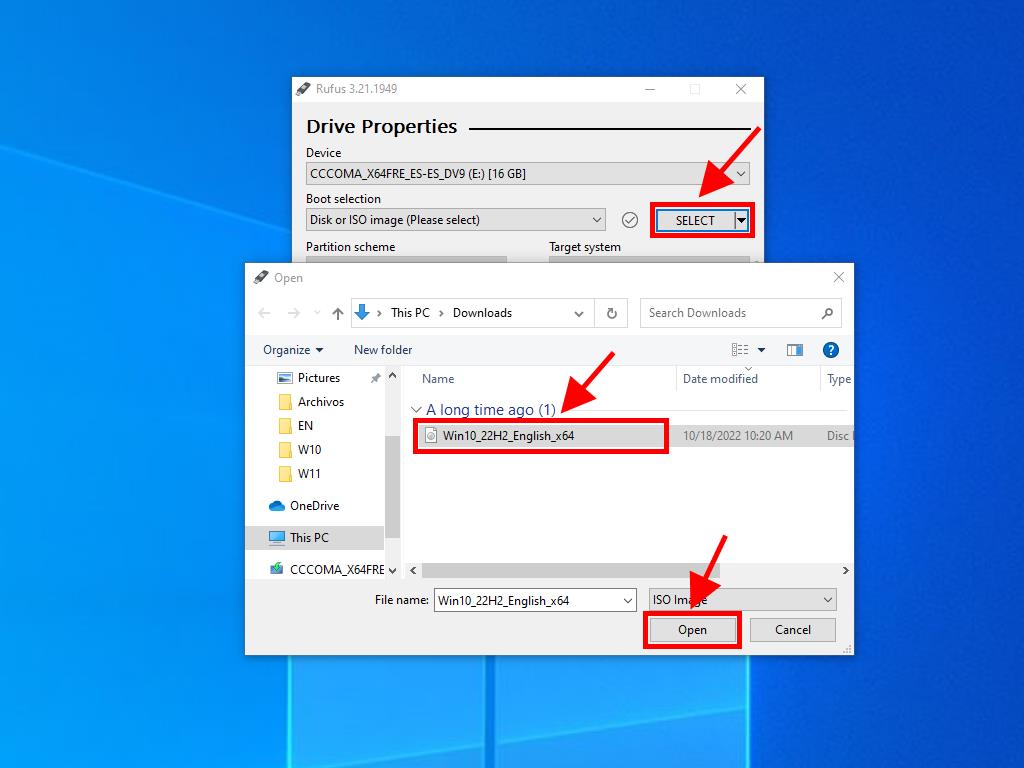
- Utilise the Select button to locate the .iso file for Windows 11.
- Press Start and observe as Rufus configures the bootable USB drive.
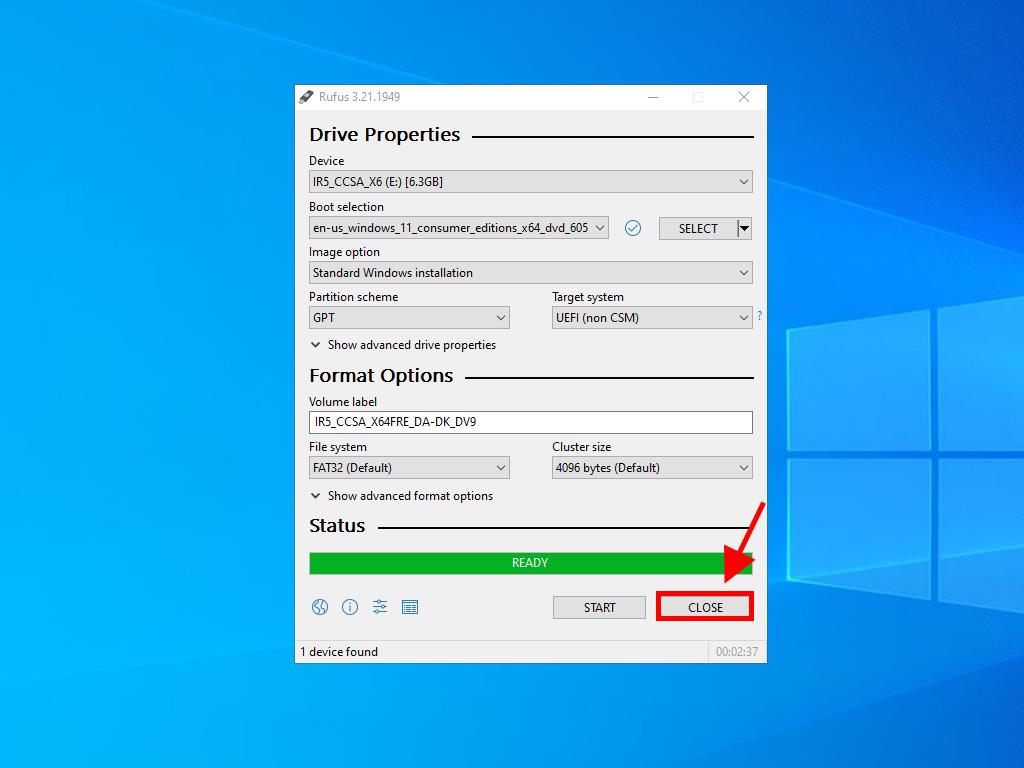
- Once complete, evidenced by a 100% progress bar, press Close; your device is now ready for Windows 11 installation.
Alert: A dialog titled Customize Windows Installation may appear, opt to Disable Data Collection and continue the setup.
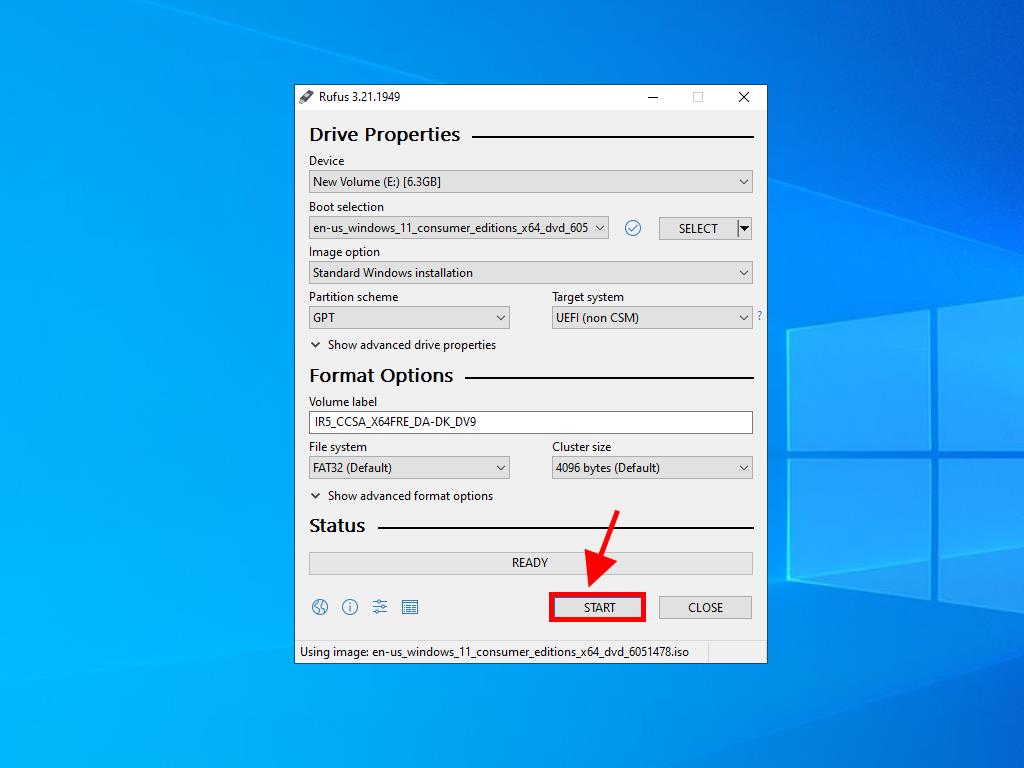
Note: Choose GPT partition scheme for PCs after 2020, and MBR for earlier models.
MediaCreationTool
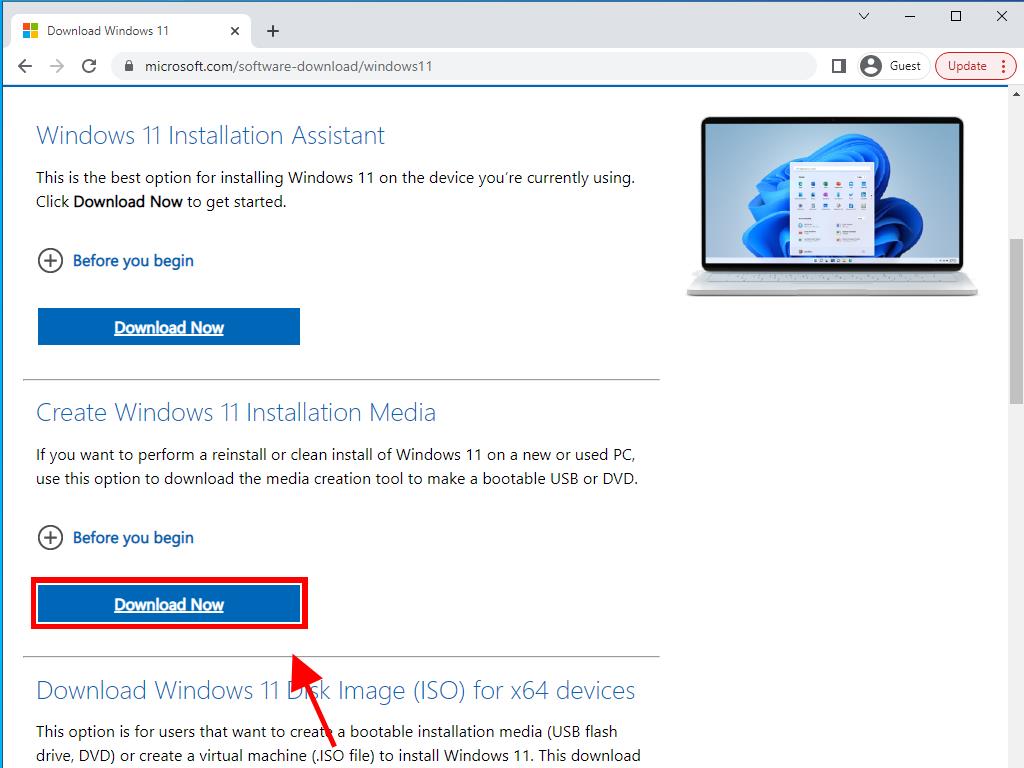
- Download it free of charge here.
- Initiate the download by clicking on Download now.
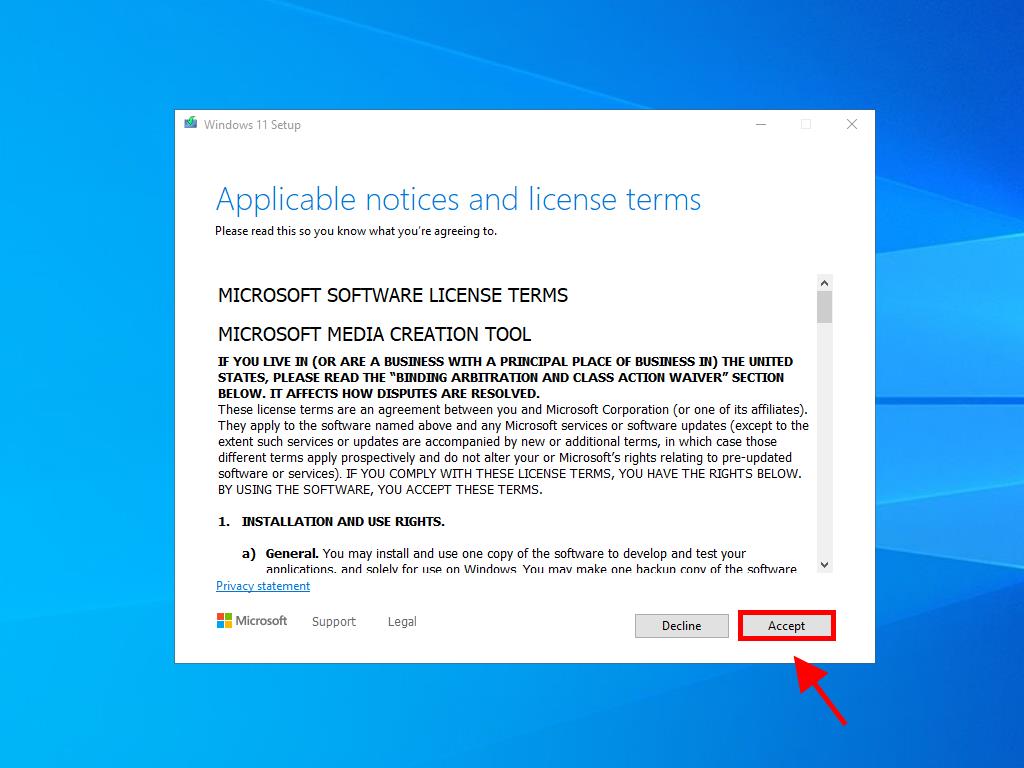
- Consent to the terms, then select Accept.
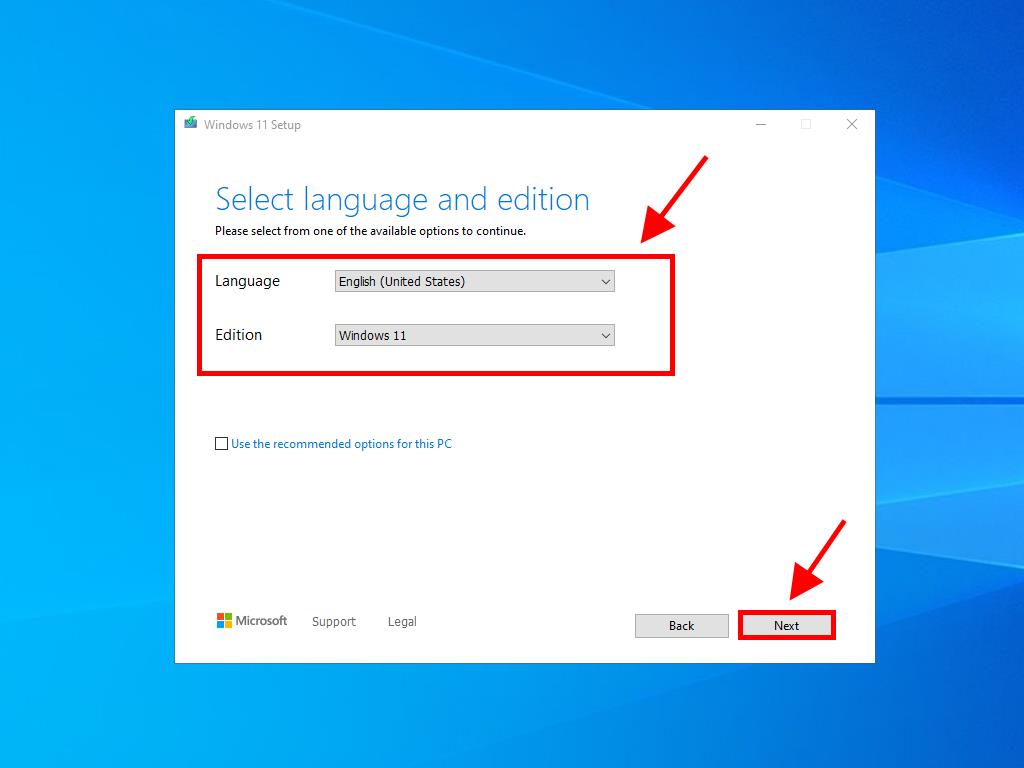
- Following acceptance, a dialog will prompt you to choose your preferred language and edition. Click on Next.
- Opt for USB flash drive and then press Next.
- This step initiates the download and preparation of your USB drive.
Note: If the preset language or edition doesn't match your preference, deselect Use the recommended options for this PC to customize your choices.
Alert: If your USB drive isn't visible, restart the application without detaching the USB from your computer. Ensure all data on the USB is backed up as it will be cleared.
 Sign In / Sign Up
 Orders
 Product Keys
 Downloads

 Go to United States of America - English (USD)