Sign In / Sign Up
 Orders
 Product Keys
 Downloads

 Go to United States of America - English (USD)
How to Install and Activate Office / Project / Visio 2010
Before installing Office 2010, check your PC's operating system. Here are the steps to install it on different Windows systems:
Steps to install Office 2010 on Windows 8.1, 10, and 11
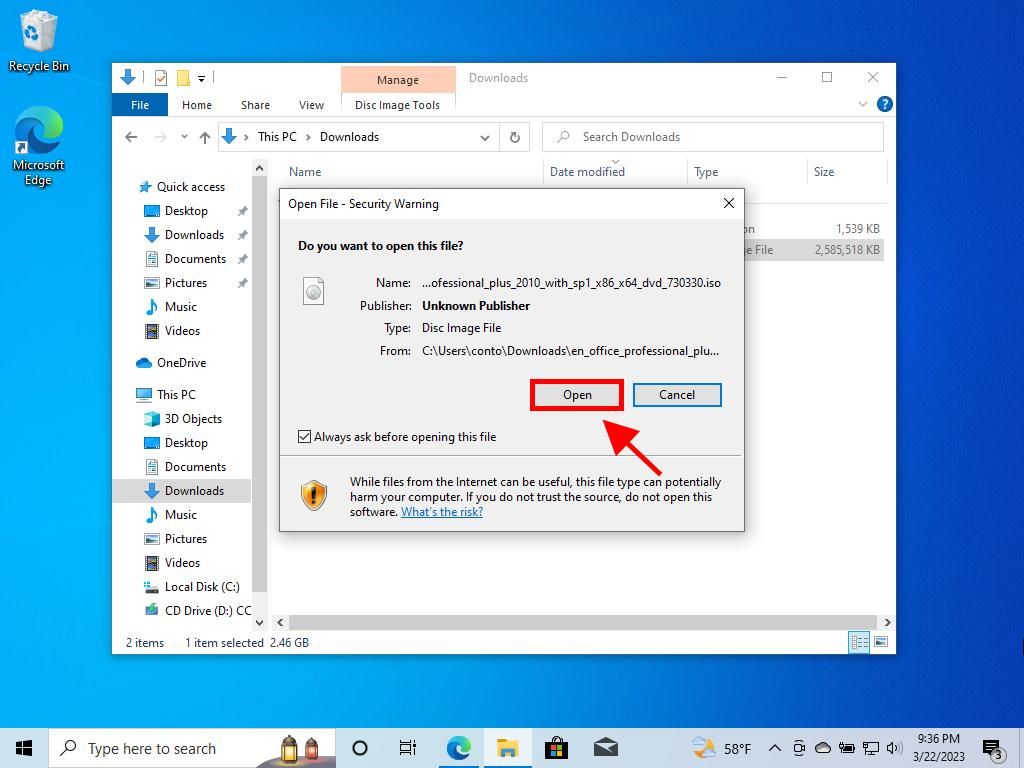
- After downloading the Office 2010 .iso file, locate it and double-click. In the dialogue box, select Open.
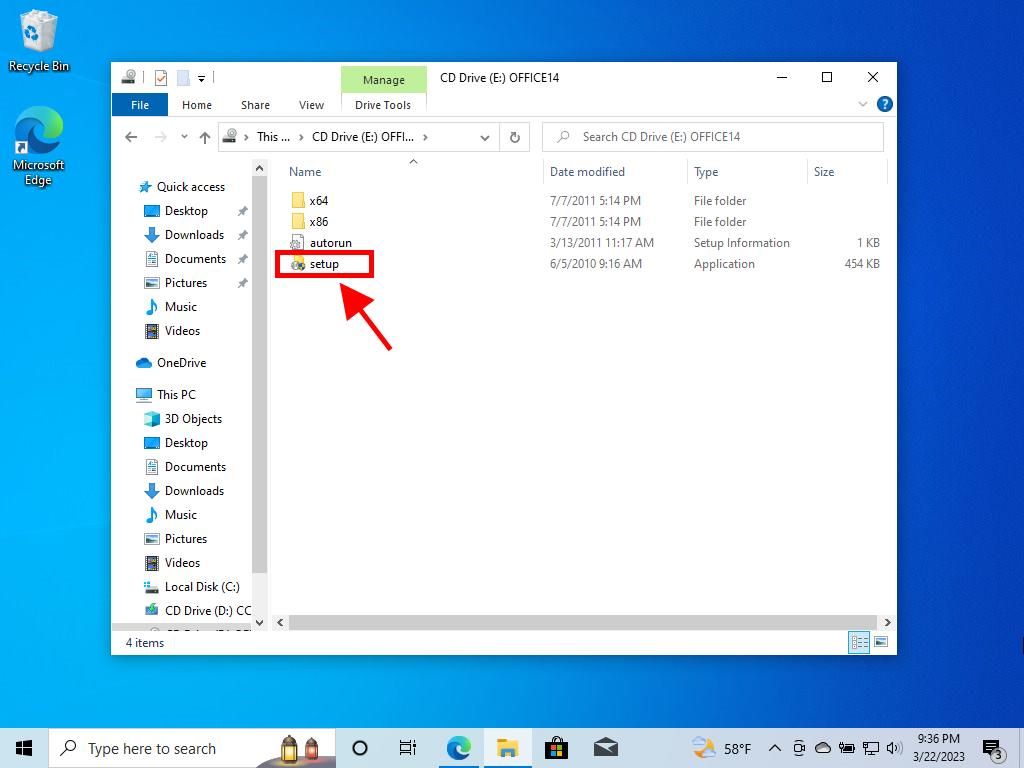
- A window will pop up. Double-click on the Setup file.
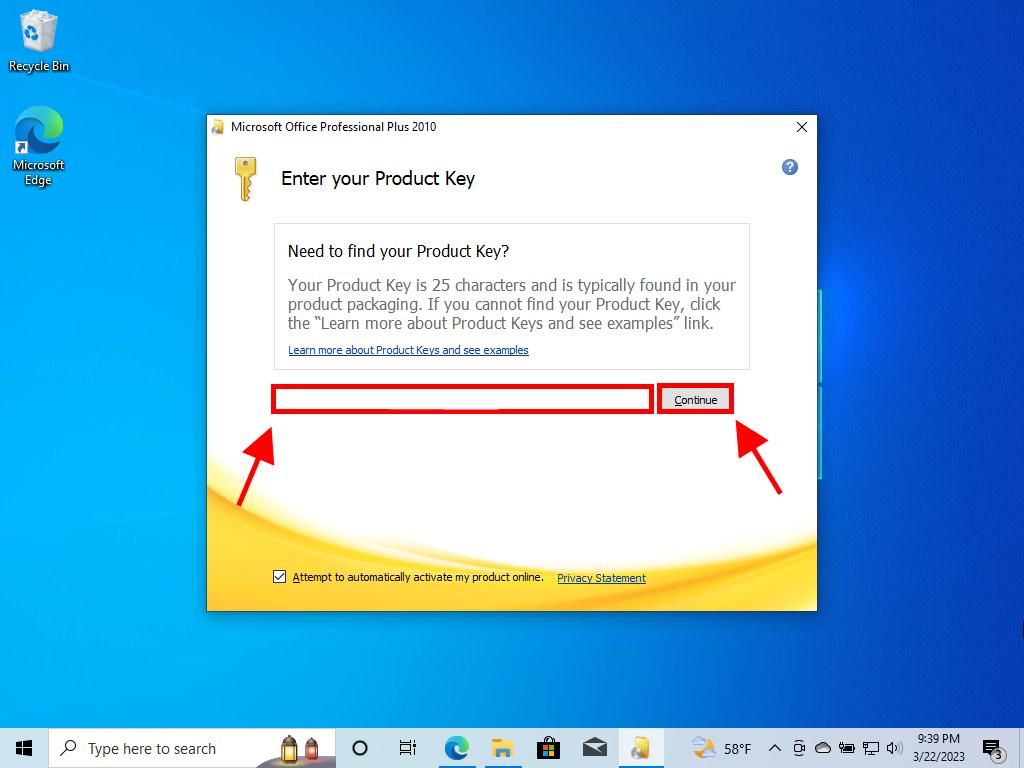
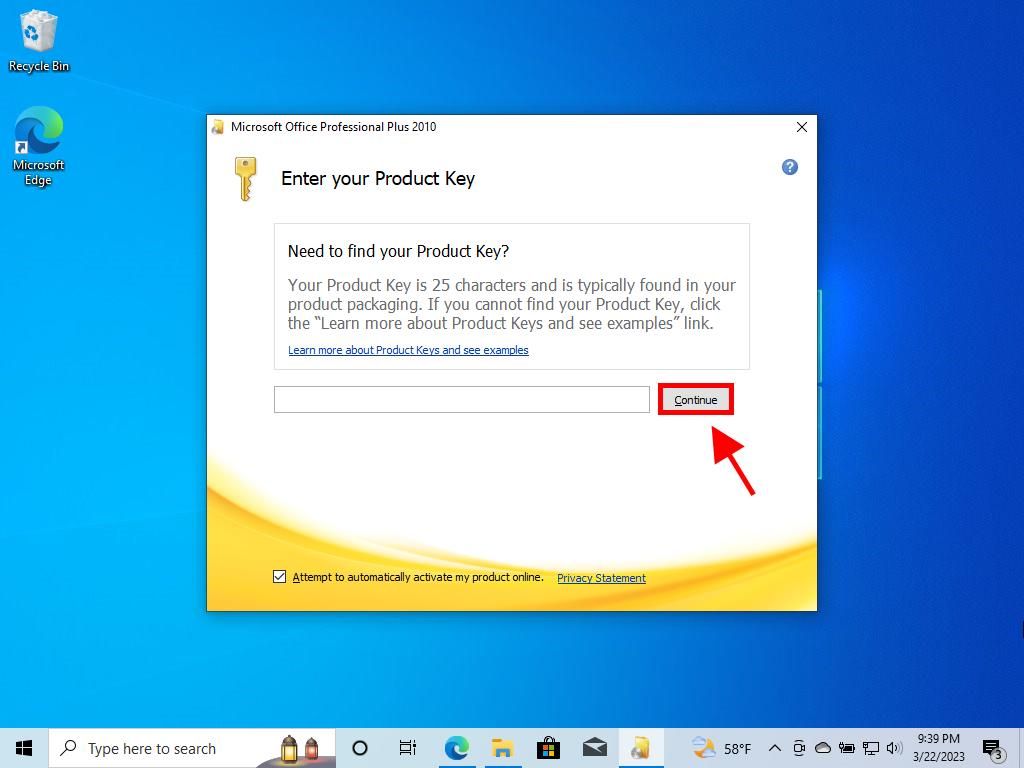
- Enter your Office product key and click Continue.
- Check the box to accept the terms and click Continue.
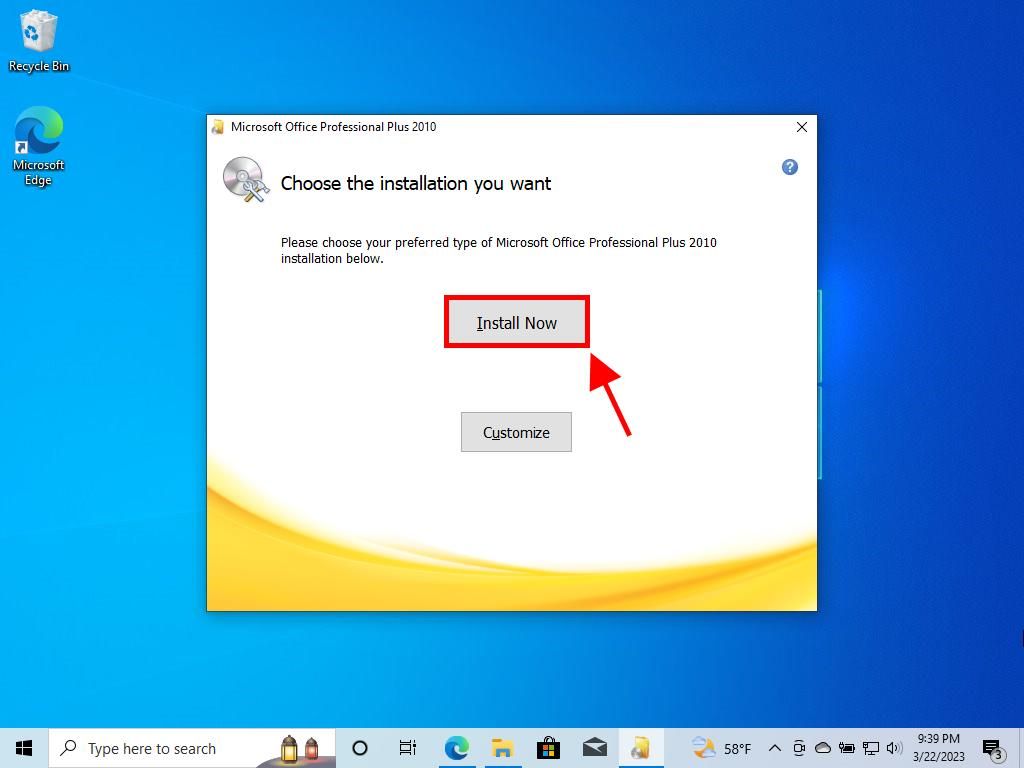
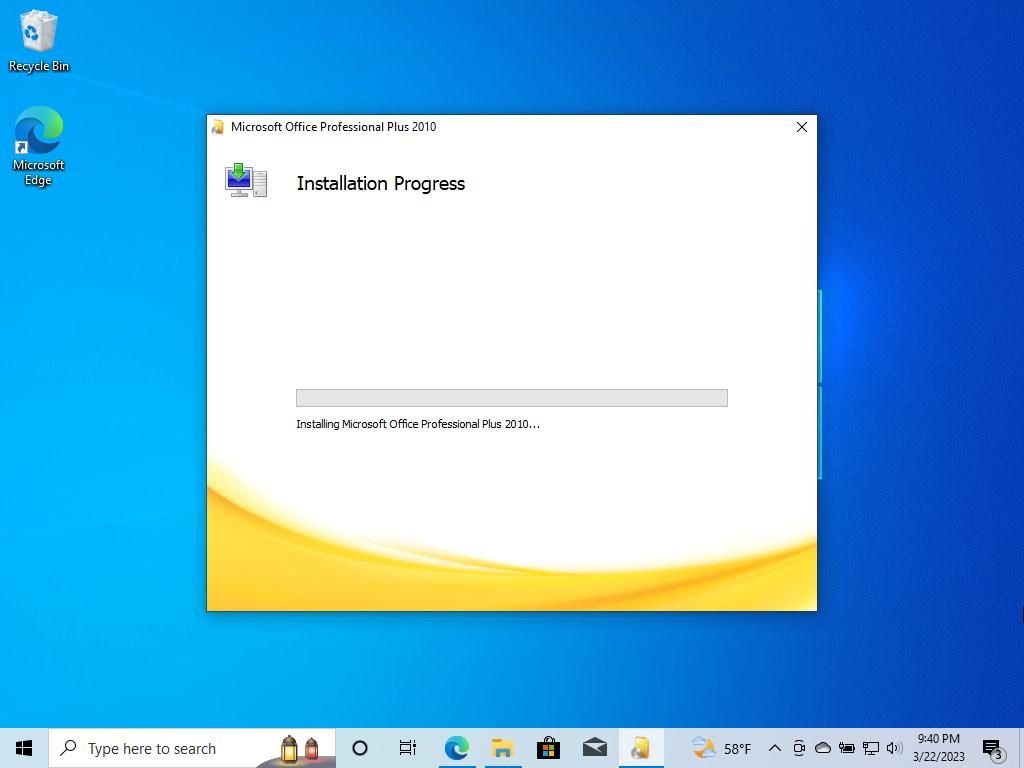
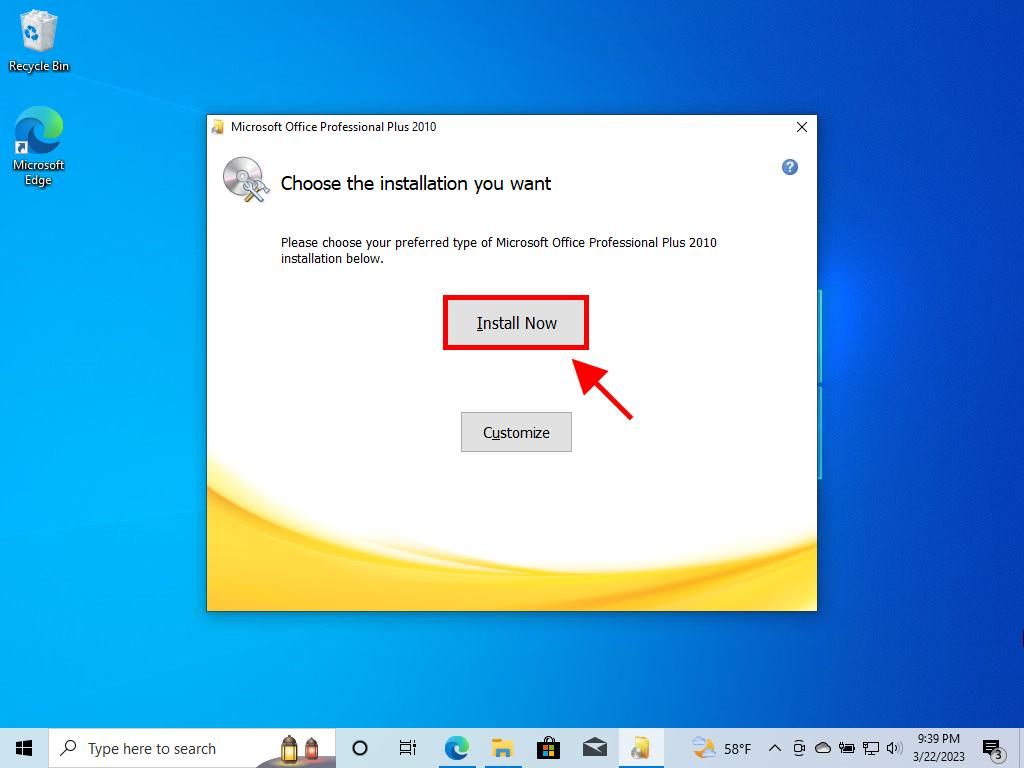
- Click Install now.
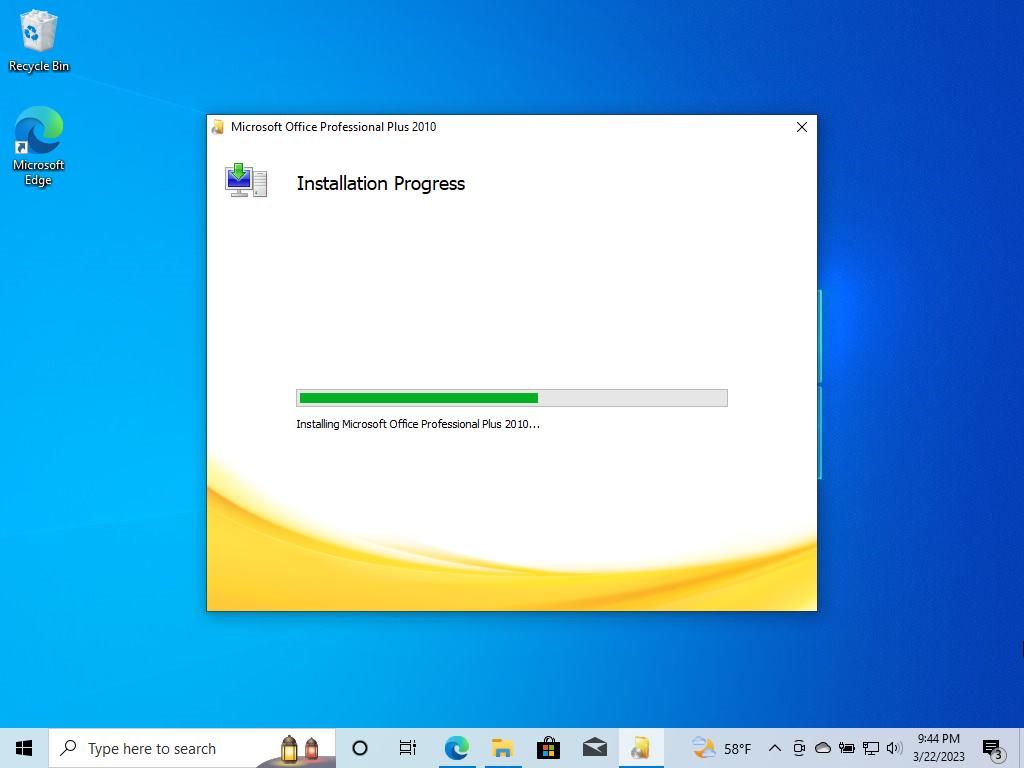
- Wait a few minutes for Office to install.
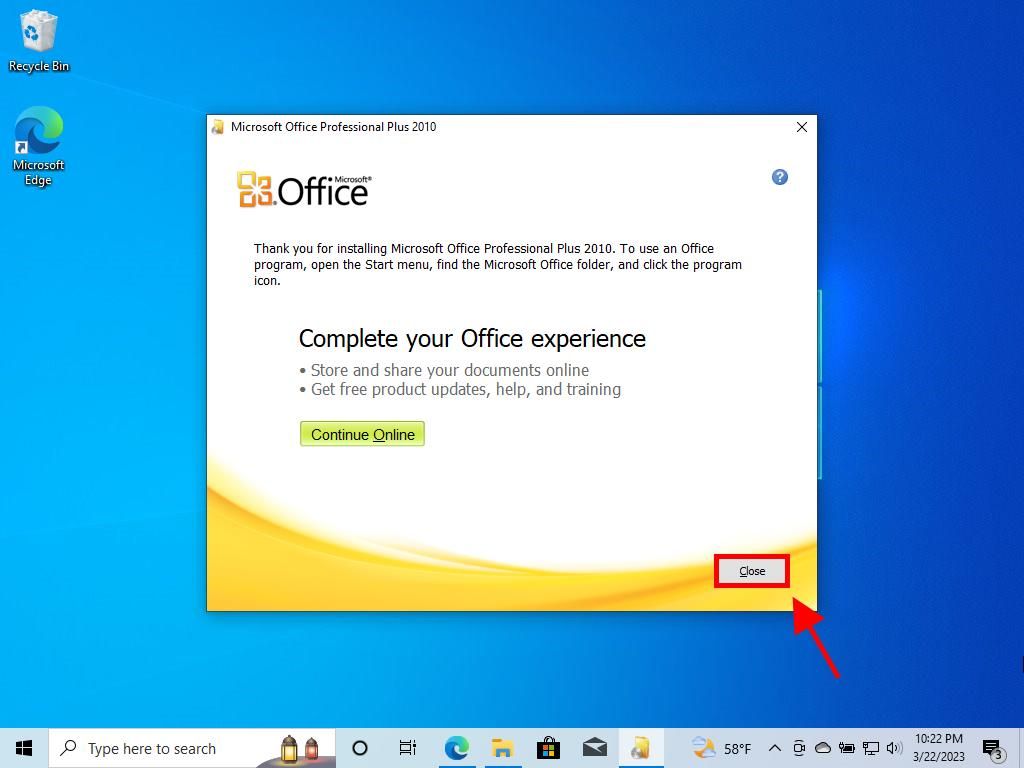
- Then, click Close.
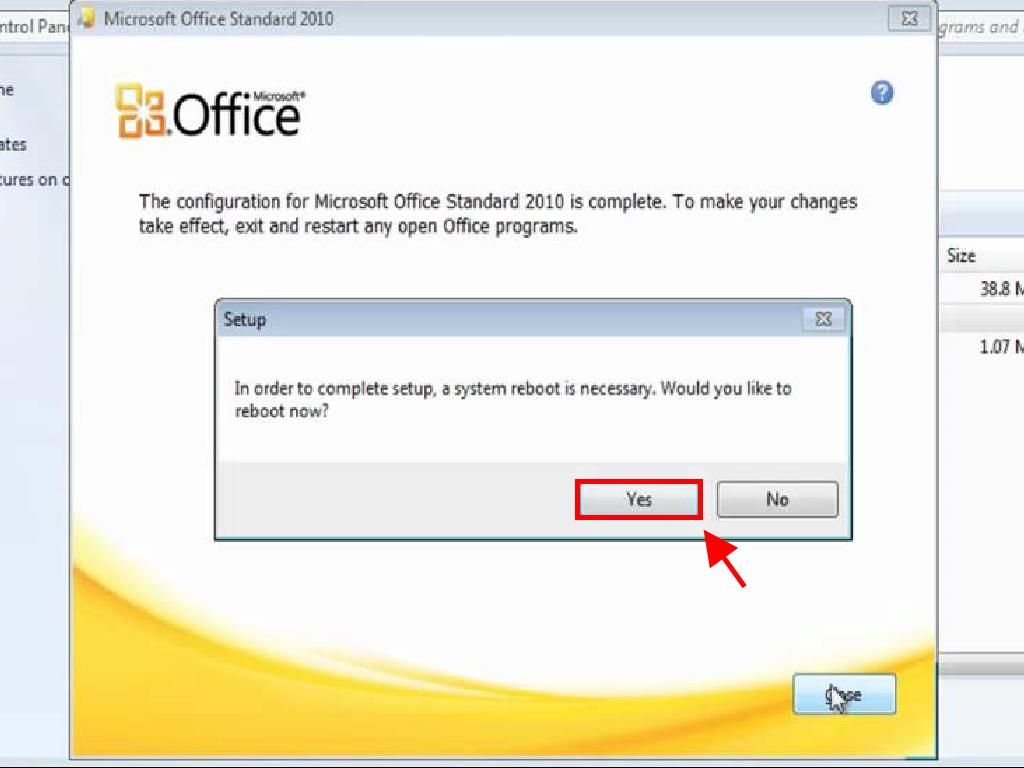
- A prompt will ask you to restart your PC. Close all open windows and click Yes.
- After rebooting, Office 2010 will be installed and activated.

Steps to install Office 2010 on Windows 7 and 8
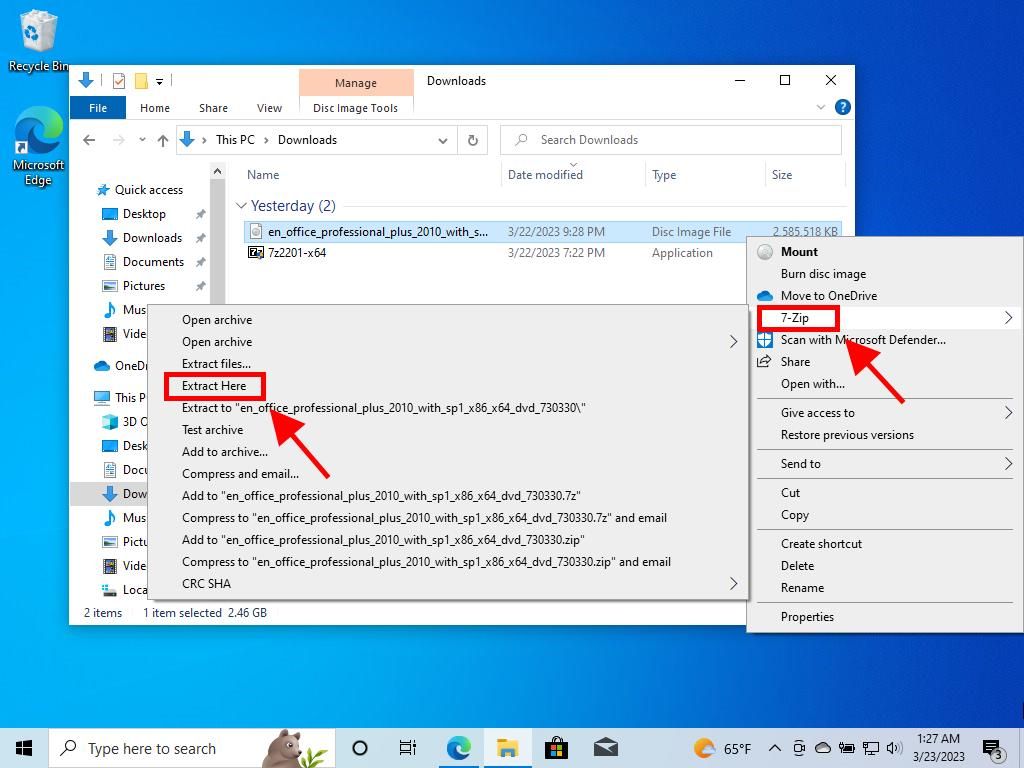
Note: To install and activate Office 2013 on Windows 7 and 8, you need a file compression programme on your PC like WinRAR, WinZip, or 7-Zip. This guide uses 7-Zip.
- After downloading the Office 2010 .iso file, locate it and right-click. Choose 7-Zip and select Extract here.
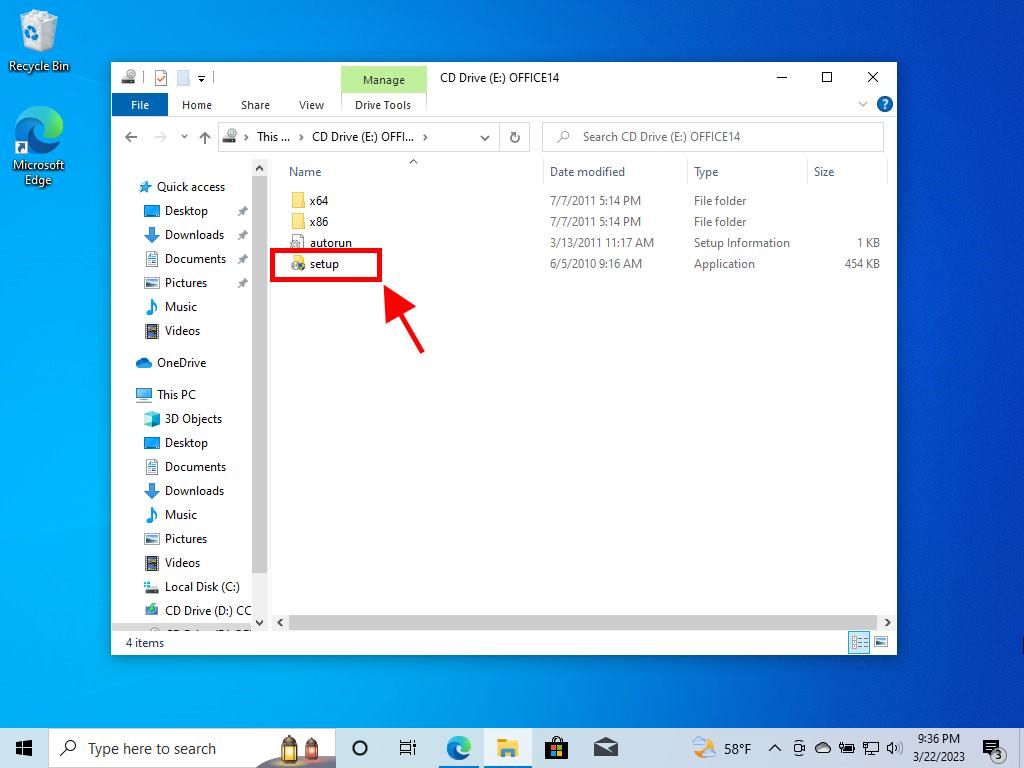
- After extraction, at the bottom of the window, double-click the setup file.
- Enter your Office product key and click Continue.
- Check the box to accept the terms and click Continue.
- Click Install now.
- Wait a few minutes for Office to install.
- Next, click Close, and Office 2010 will be installed.